Anguel's parents are flying into Vancouver in a few days and we couldn't be more excited. As we prepare to play tour-guide for the next week or so, we've been thinking a lot about our favorite things to do around Vancouver. We'll take his parents on day trips to places like Whistler and and the Sea to Sky Gondola, but one of the things we're most excited for is our weekly trip to the local farmers market. Those trips give us so much joy – and we can't wait to bring his parents along for the ride.
The unusually warm Vancouver weather has meant an early season for some local farmers. The heads of lettuce are actually so big they don't fit into regular bags. The zucchinis are the size of small babies (I bought a five pounder last week…for two dollars). And perhaps most importantly, this has meant heaps of local berries. We're huge berry fans. We always have a big bag of berries in our freezer – and berry smoothies are pretty much a daily ritual. But now that it's summer, the abundance fresh (rather than frozen) berries has me feeling pretty inspired.
Let's go back to the beginning though. While berries are the star of this dish, the truth is that the recipe started with the crust. A reader wrote in a few weeks back asking about a sweet version of this savory sunflower seed crust. I responded with a bit of an on-the-spot brainstorm of recipe modifications, which quickly expanded to spice recommendations…and it eventually got to the point where I realized I was excited to make a version of it myself. The crust is gluten-free and nut-free, just like the original. But this time, I made it completely vegan and added cinnamon, cardamom and maple syrup – all of which help to bring this crust over to the sweet side.
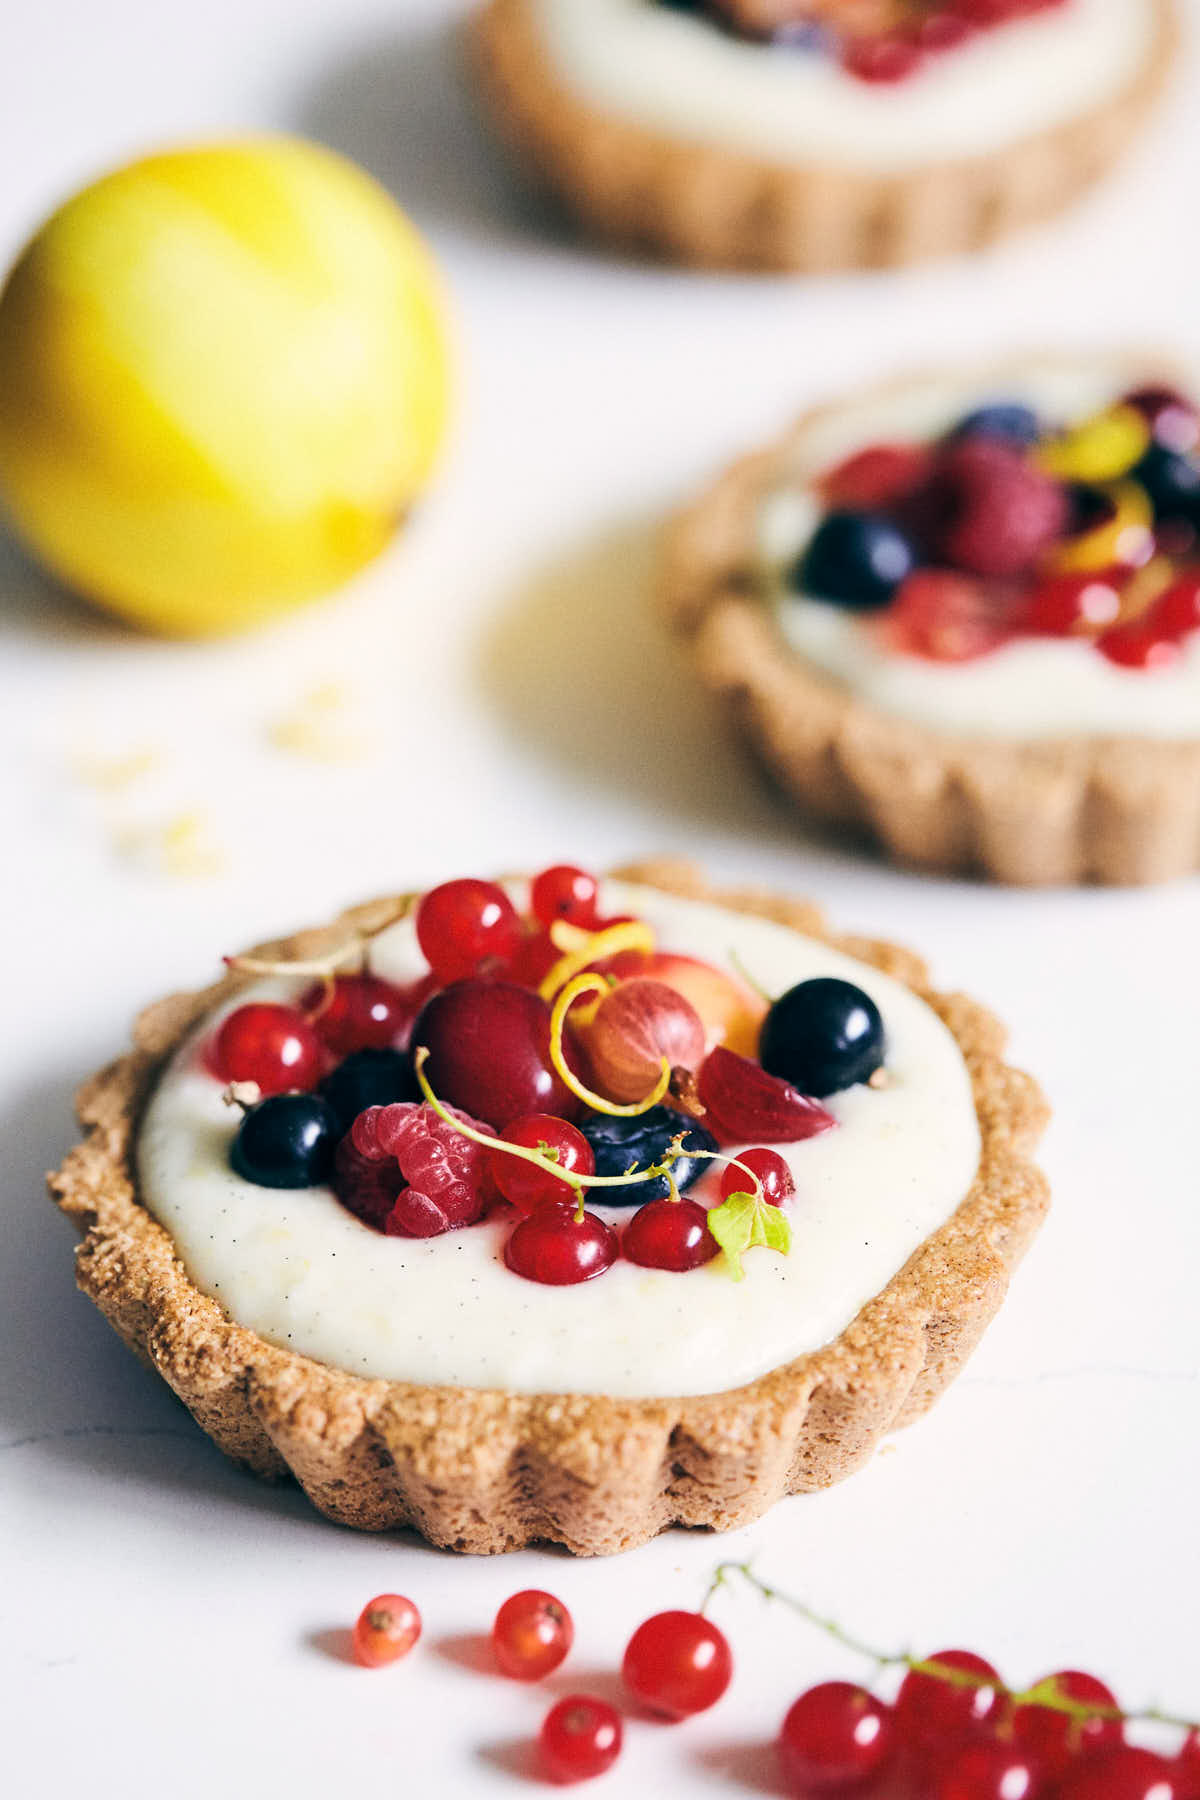
I chose to press the crust into individual tart shells to make pretty, fuss-free desserts (which can also double as breakfast, by the way). In my opinion, serving and storing individual tarts is so much easier than one big one. No need to worry about slicing it up. Much easier to serve. And selfishly, I love the idea because it means I can snack on my own tart before serving them to guests later (a slice missing out of a full tart is a bit... harder to conceal).
Enough about the crust though - what we should really be talking about is this Lemon Vanilla Cream filling. I'm so, so thrilled with how it turned out. Rather than reaching for cashews or something similar, I instead opted to use a long-lost friend of mine: coconut meat. Coconut meat is a magical ingredient, and once whipped up, it makes for a thick, creamy filling that's a similar consistency to greek yogurt. Here, it makes the perfect back-drop for a fresh, lemony filling that's speckled with vanilla beans. It’s actually crazy delicious...I've already whipped up a few extra batches and have started to eat it with a spoon. I made the first couple batches in a food processor (mostly to avoid cleaning the blender); but after a bit more testing, a high-speed blender wins in my books. It's much faster at whipping up the coconut to a velvety soft texture. That said, if all you have is a food processor, feel free to use that too.
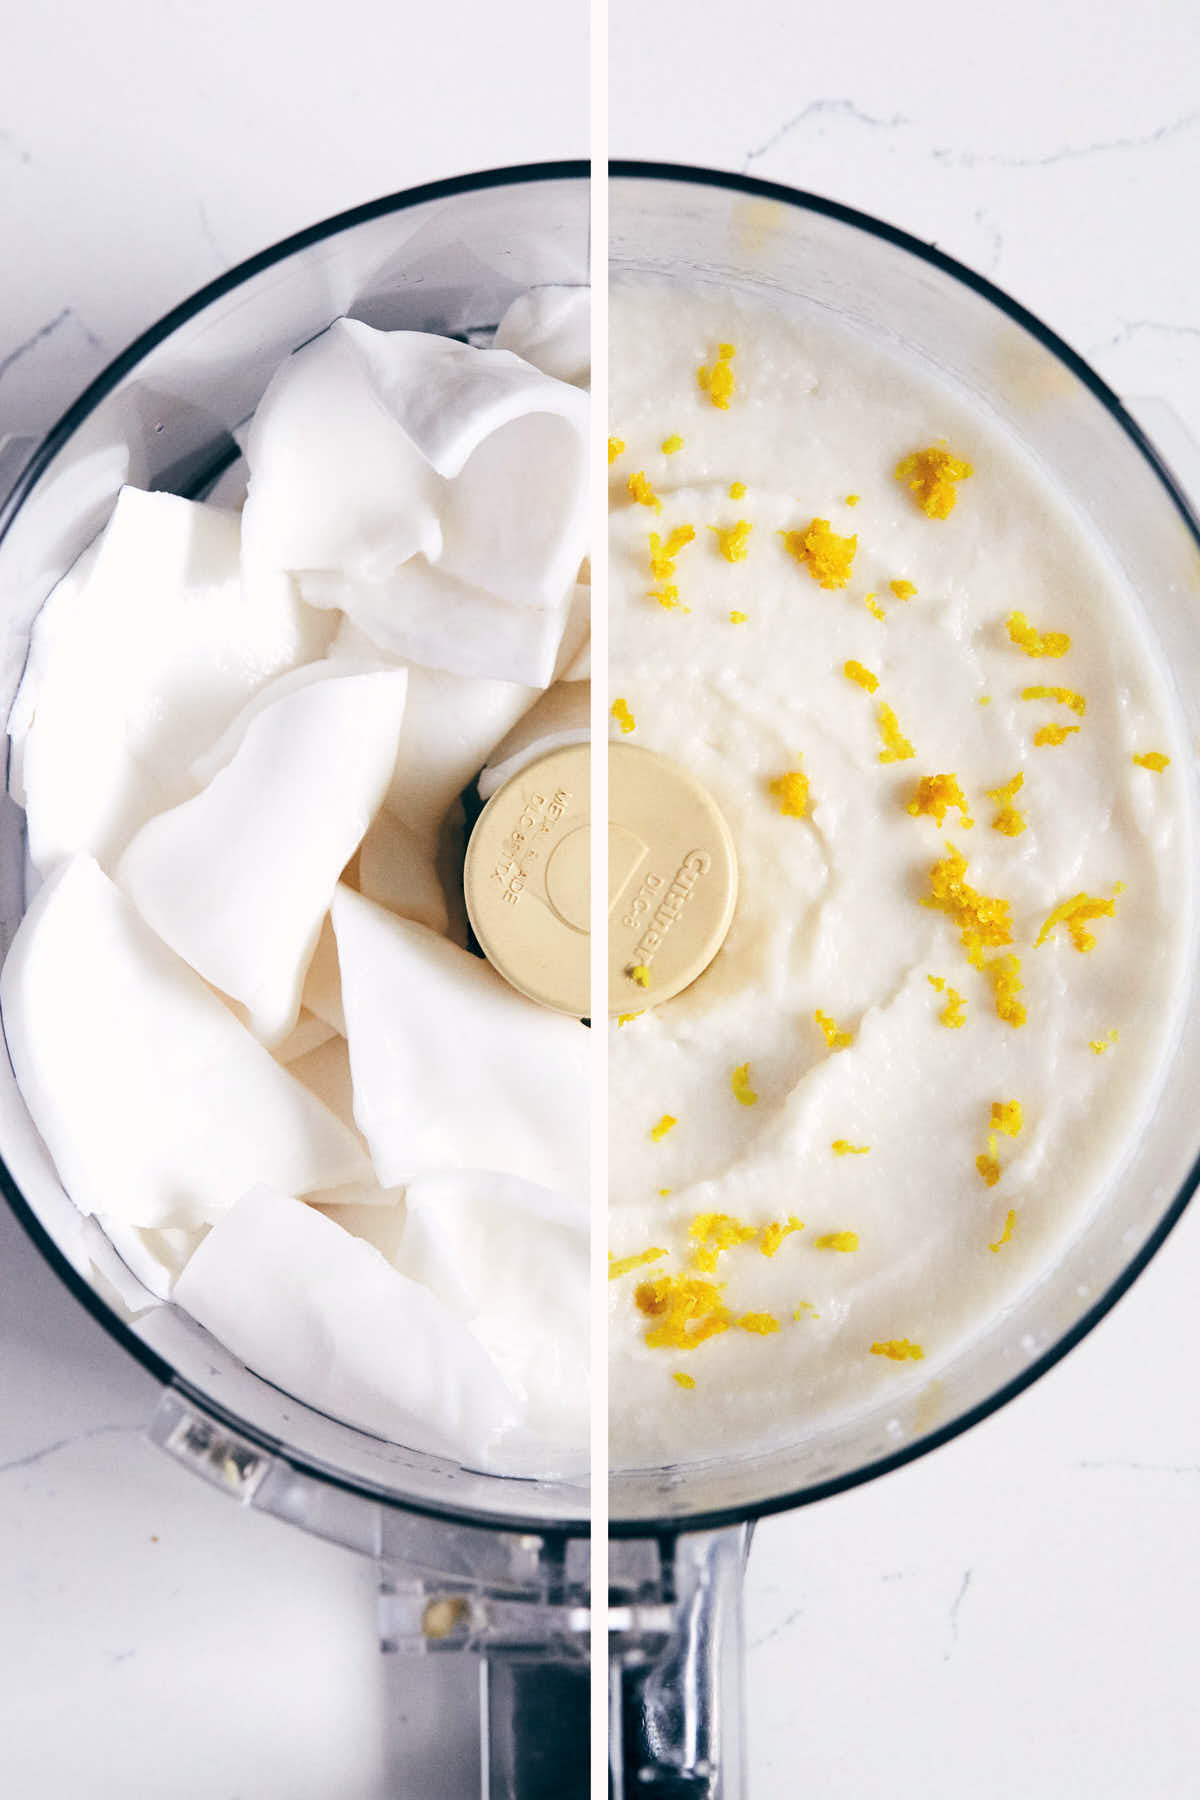
You could most definitely harvest your own coconut meat by cracking open fresh coconuts. I was all gung-ho about that method in my university days – and was lucky to be living with an apartment of guys who were as excited as I was to bust open coconuts. At least at the start. After we realized how hard it actually was (FYI – don't do it near carpeted floors), my passion for fresh coconut meat dwindled rather quickly. That is, until I moved back to a city that stocks the stuff in the frozen foods aisle. Sure, it feels like a bit like a cop out. But when I'm measuring out raw coconut meat without needing to risk chopping off my hand with a cleaver, I'm totally okay with that choice. I get my coconut meat from Whole Foods, which stocks this brand. I'm sure there are other good brands out there, but in any case, look for raw coconut meat without any additives (or scoop your own). And if you're having trouble tracking down frozen coconut meat, you can totally swap it out for coconut-based yogurt instead.
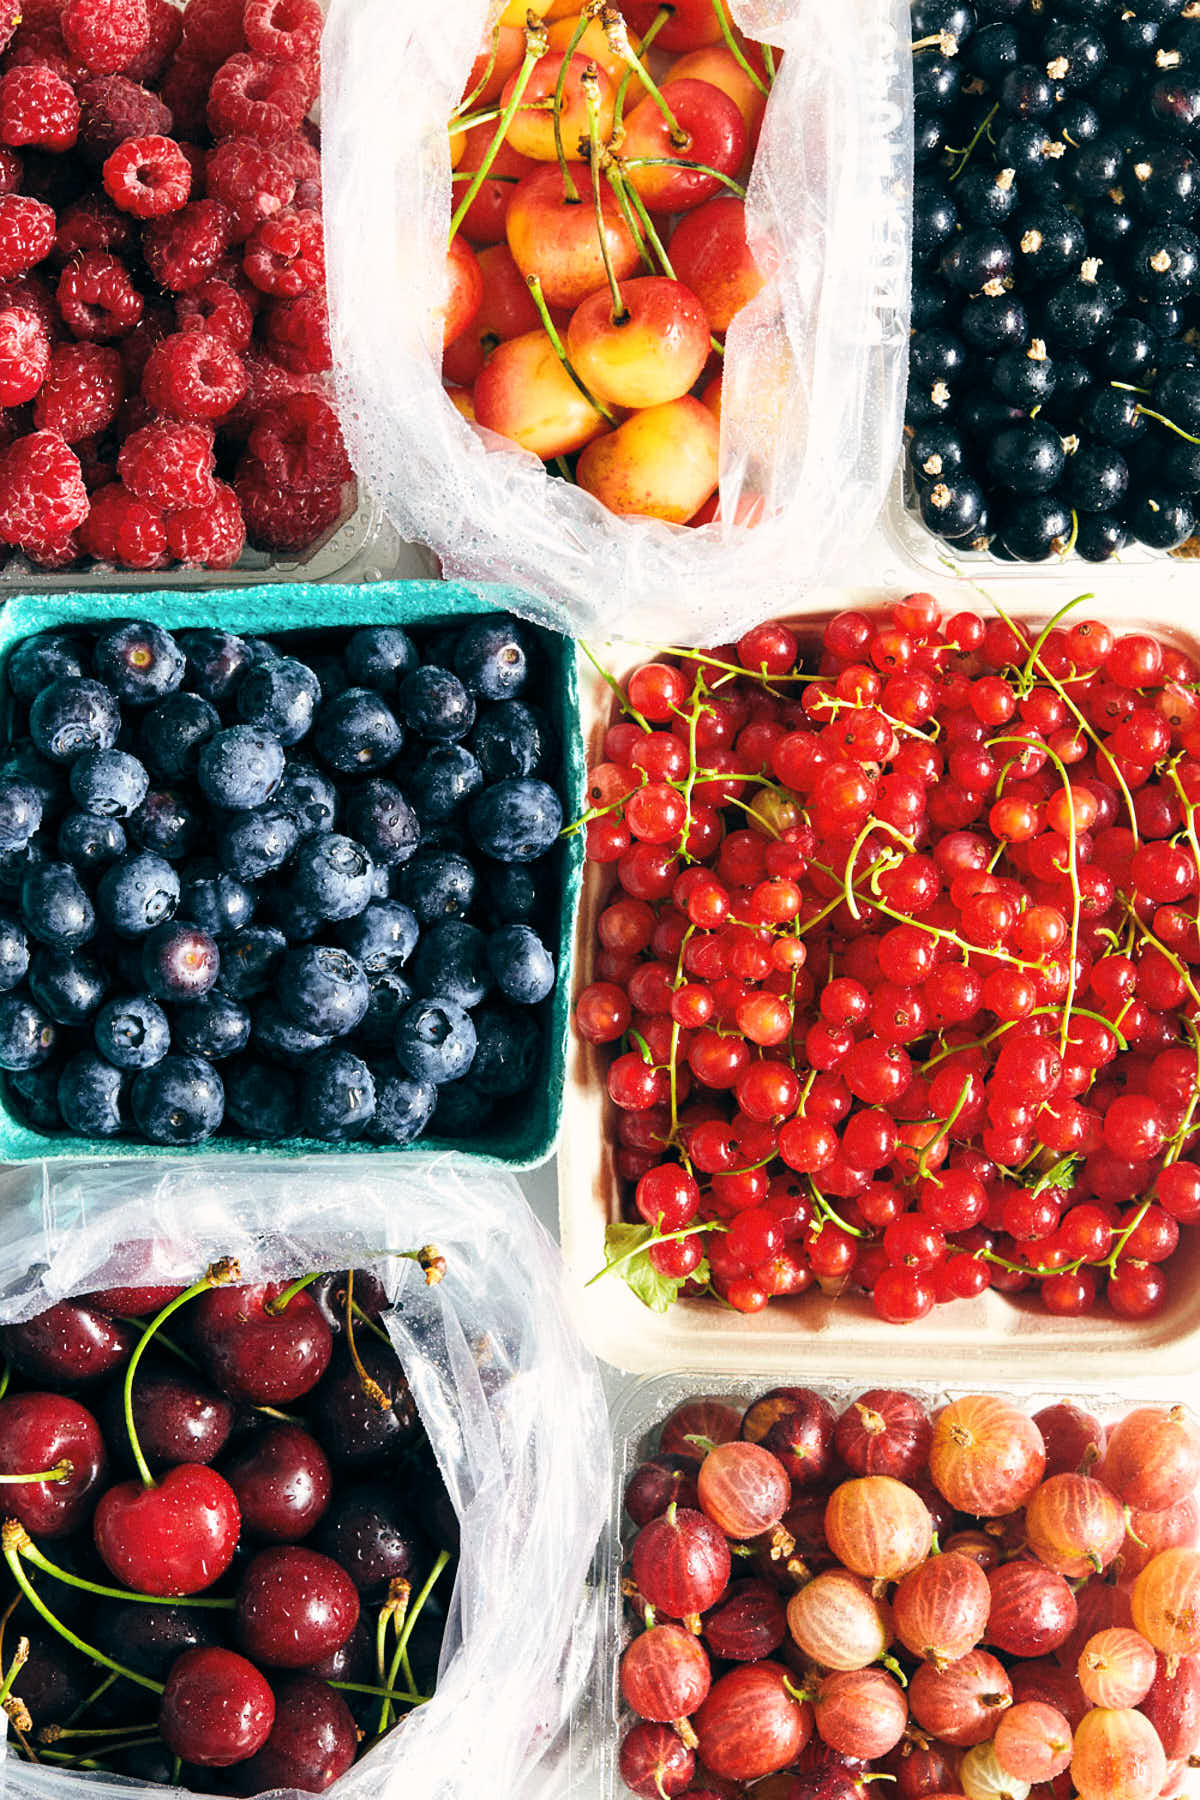
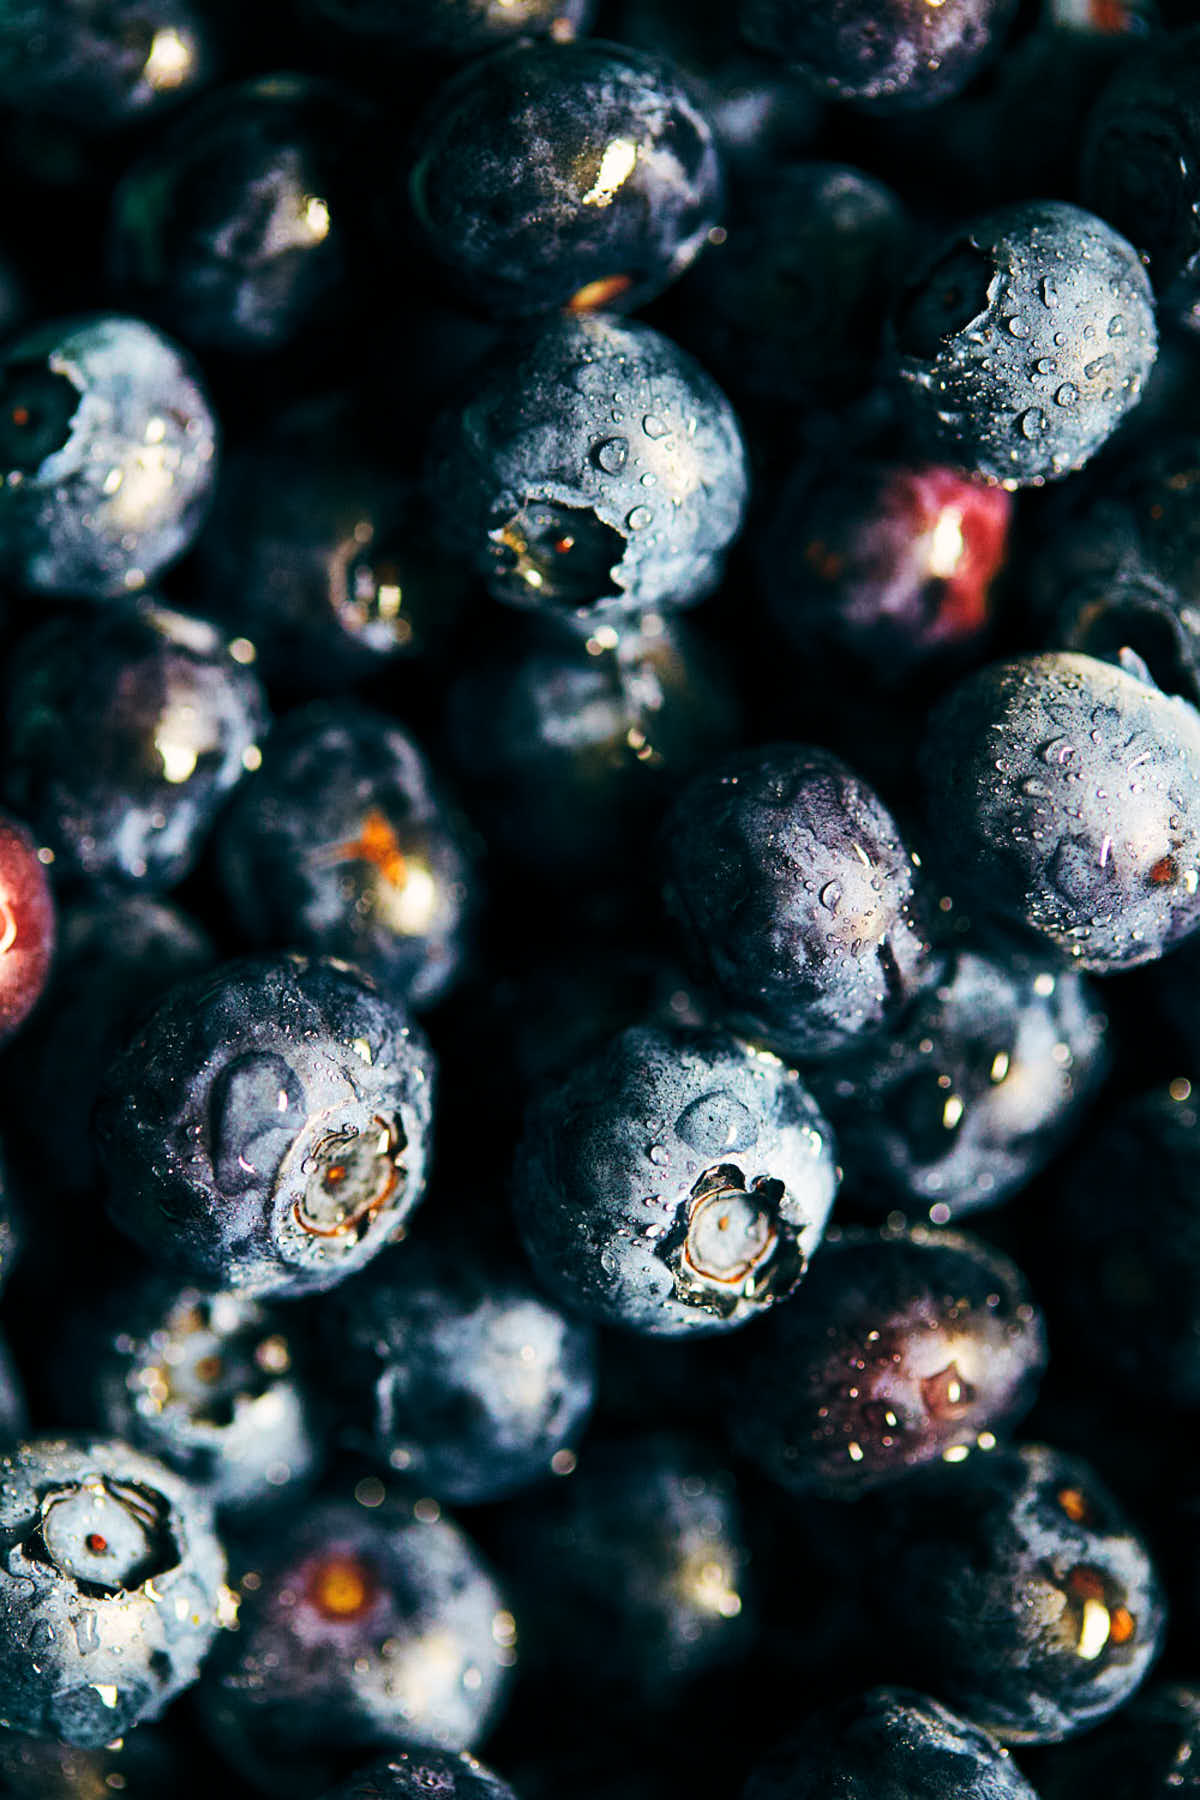
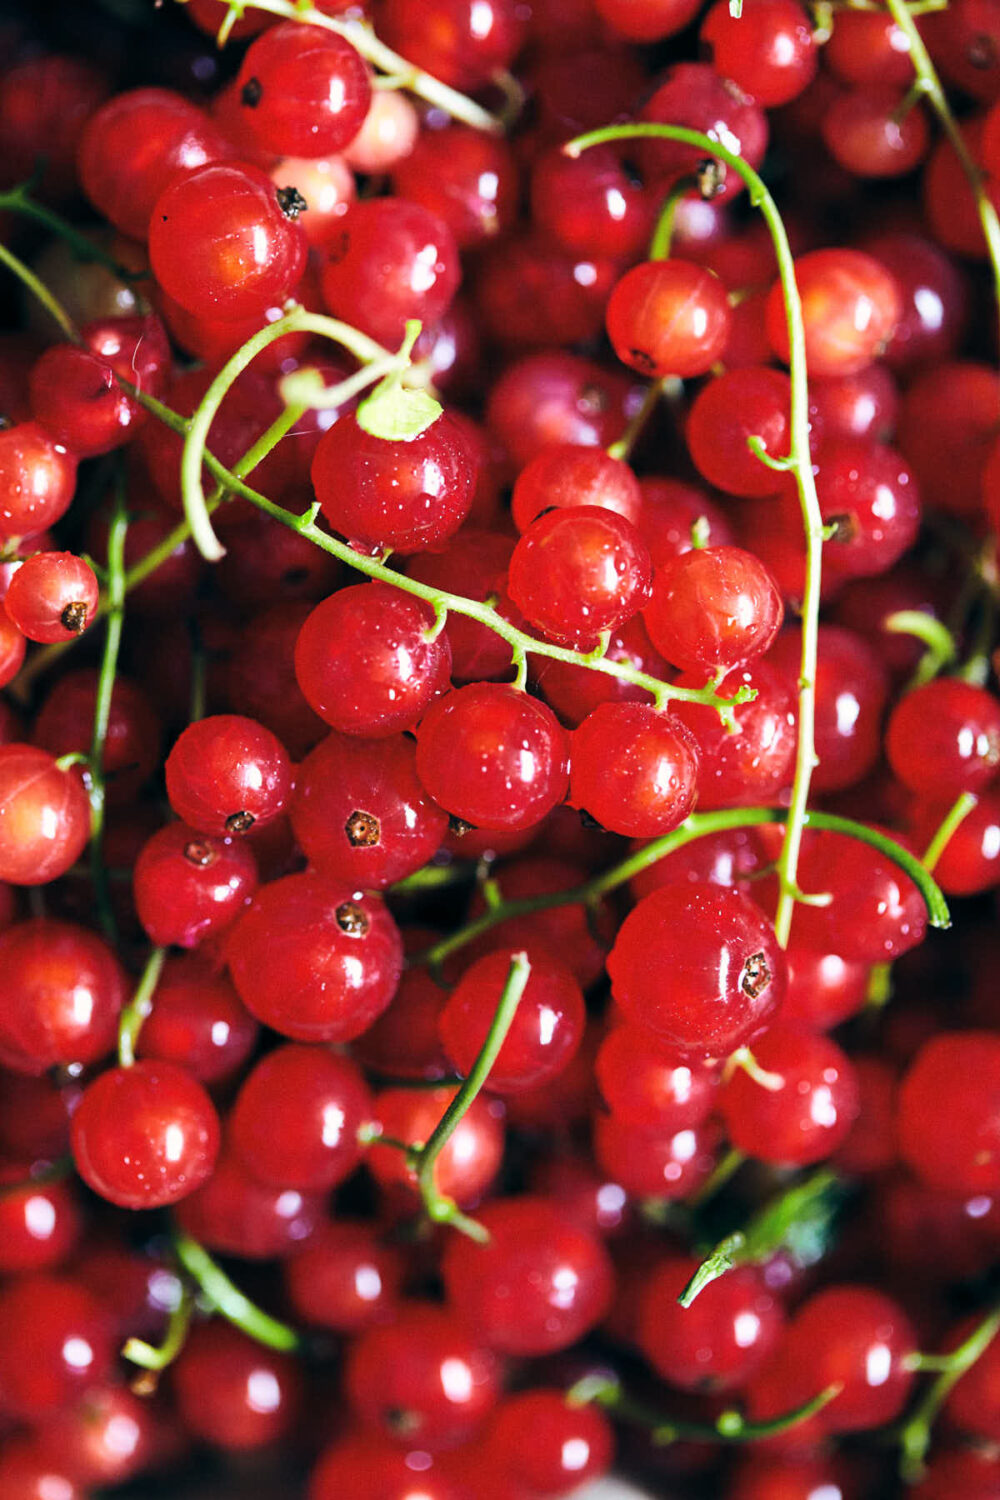
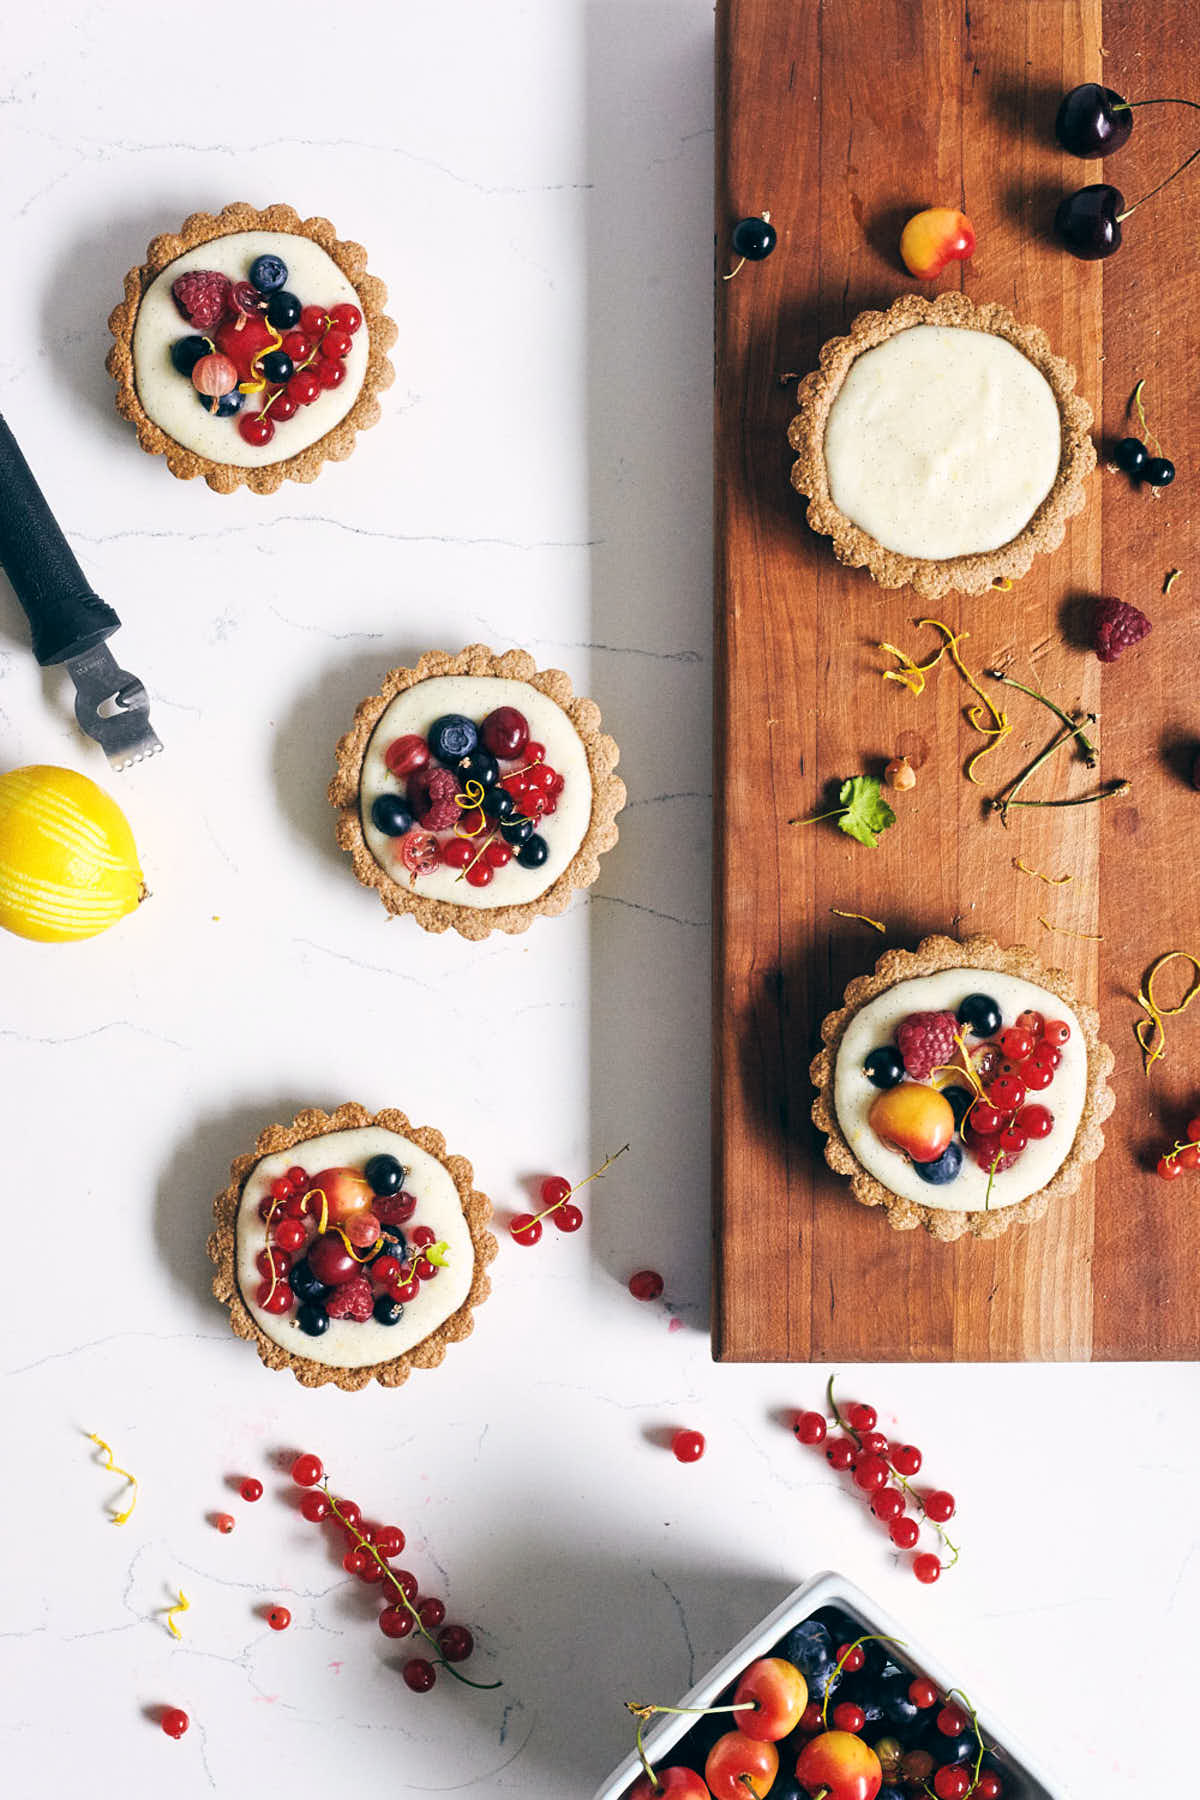
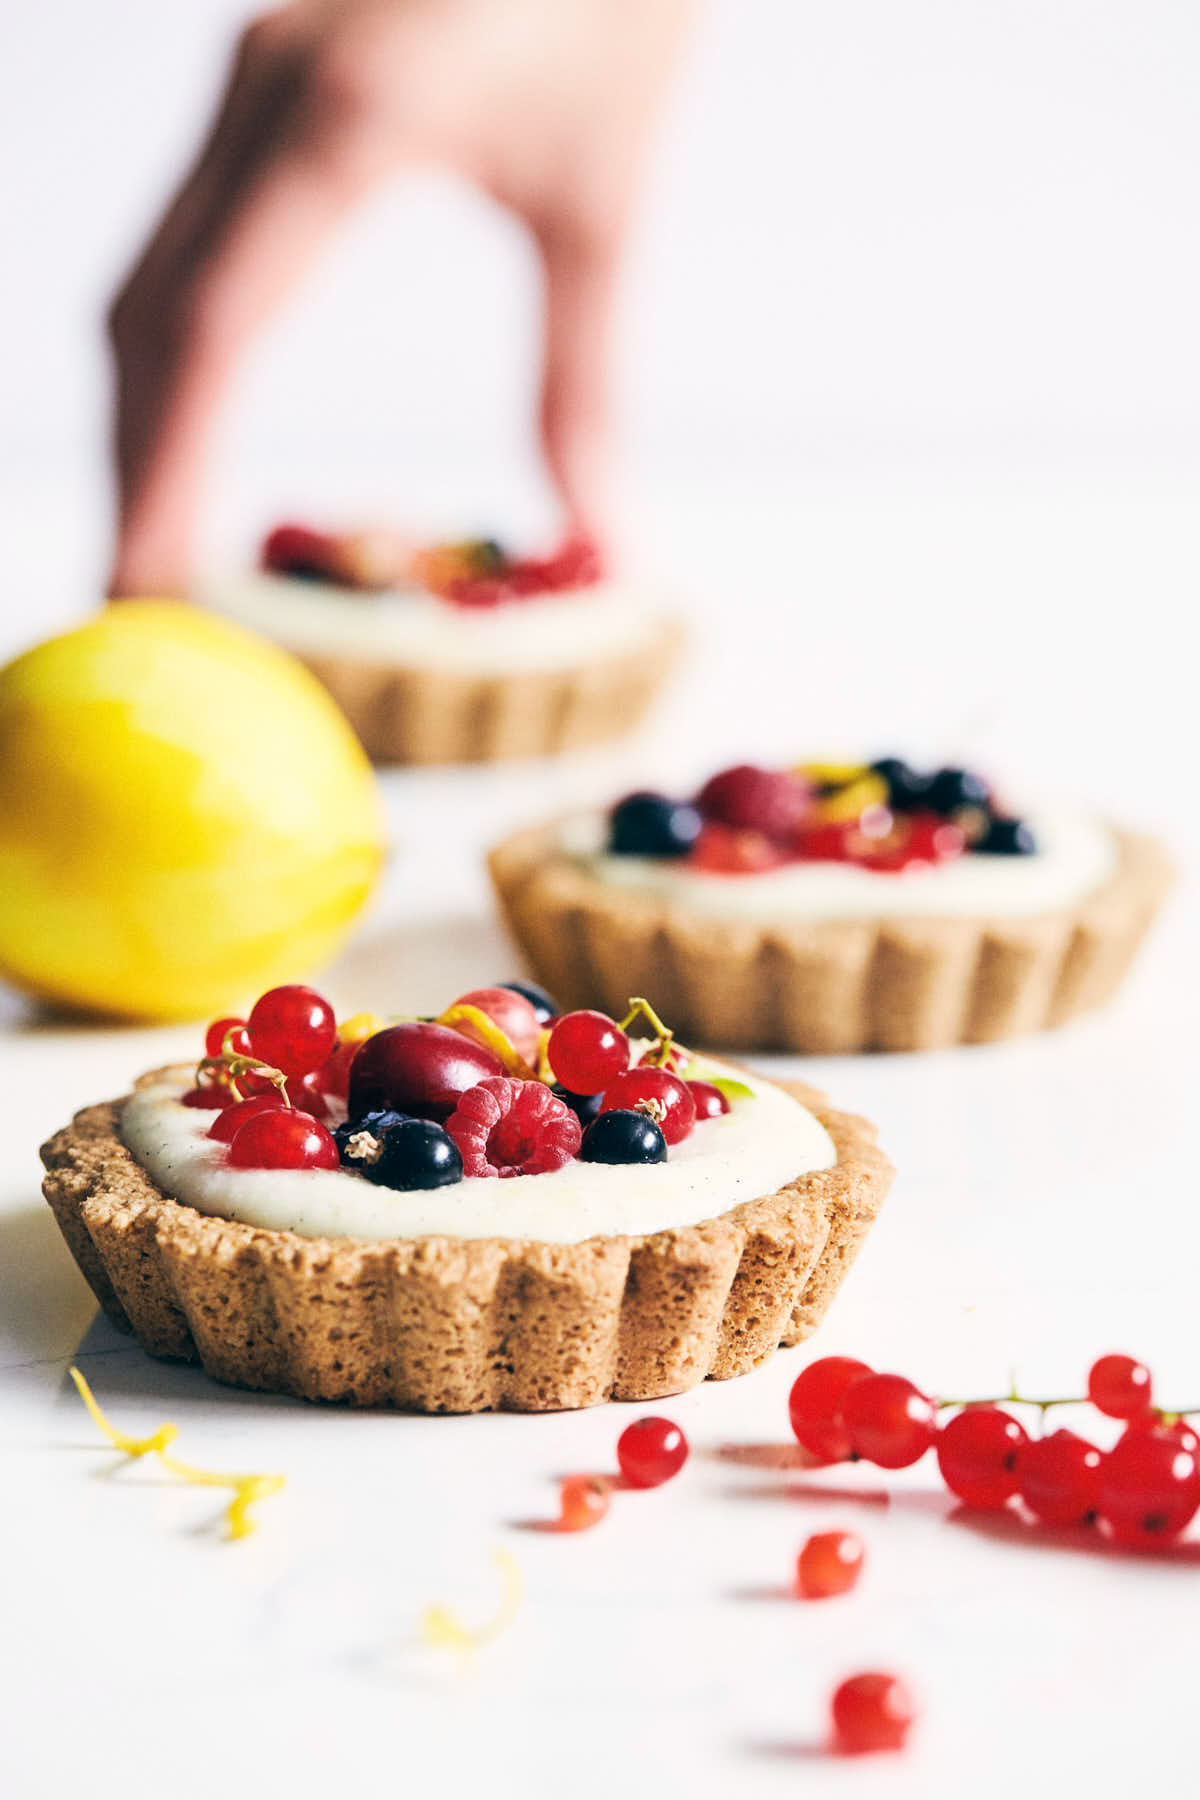
Then comes the fun part. Assembling these tarts is an absolute breeze. I recommend baking the crust in advance so they have time to fully cool. Then, spoon the lemon vanilla cream into each tart shell. And lastly, top with fresh berries to your heart's content. We'd already stocked up on tons of fresh berries from the market, so these tarts are topped with cherries, blueberries, gooseberries, black and red currants. But feel free to use whatever fresh berries you have on hand. Serve these tarts chilled, and keep any extras in the fridge.
📖 Recipe
Berry Tarts with Lemon Vanilla Cream
Ingredients
Cinnamon Cardamom Crust
- 1¼ cups rolled oats
- ½ cup sunflower seeds
- 3 tablespoons maple syrup
- 3 tablespoons melted coconut oil
- 1½ teaspoons cinnamon
- ½ teaspoon ground cardamom
- ¼ teaspoon fine sea salt
Lemon Vanilla Cream
- 1 cup young coconut meat (defrosted, see note 1)
- 2 tablespoons coconut water or water (see note 2)
- 3 tablespoons maple syrup
- 2 tablespoons lemon juice
- 2 teaspoons lemon zest (more for garnish)
- 1 vanilla bean (seeds only, see note 3)
- Fresh berries (such as cherries, raspberries, blueberries, currants)
Instructions
- Preheat: Preheat oven to 350°F (177°C). Set aside 6 (4-inch) nonstick tart pans. If they aren't nonstick, spray or lightly grease.
- Mix Crust: Use a food processor to blend oats into a coarse flour. Add sunflower seeds and blend into crumbs. Add maple syrup, coconut oil, cinnamon, cardamom, and salt. Pulse until well incorporated.
- Chill crust: Wrap the dough tightly and put it in the back of the freezer for 10 minutes to firm up slightly.
- Make Cream: Meanwhile, in a blender or food processor, combine coconut meat, coconut water, maple syrup, lemon juice, lemon zest, and vanilla seeds. Refrigerate until needed.
- Form crust: Divide the dough into 6 portions. Use your fingers to press the dough into the tart pans, pressing firmly to create a solid crust at the bottom and up the sides of the pan. Prick bottom crust with fork to let steam escape.
- Bake crust: Arrange tarts on baking sheet. Bake until crust is medium-firm to the touch, 10 to 12 minutes. Let cool completely (they will firm up as they cool).
- Assemble: Spoon filling into each cooled tart shell. Refrigerate until the filling is cold. Top with fresh berries and lemon zest.
Notes
- Young coconut meat: Thin, soft coconut meat from young (green) coconuts. Often sold in the frozen section of specialty health food stores. Defrost before using (I like to defrost the bag in a bowl of cold water set in the fridge). Young coconut meat is softer and more flexible than the thick, firm coconut meat sometimes sold in the prepared produce section in grocery stores.
- Coconut water: If you're using frozen coconut meat, the package will usually have some coconut water at the bottom. You can use this. Otherwise, regular water works as well.
- Storage tips: Cover and refrigerate for up to 3 days.

LEAVE A COMMENT