Halloween is around the corner, and as usual, I'm doing everything possible to avoid coming up with a costume. I've always had mixed emotions about October 31st. The chocolate and candy is more than enough to get me excited, but when I was younger, I always dreaded the exercise of collecting it. Yup, I might be the only person who didn't love to trick-or-treat.
Growing up, I'd always been about a head or so taller than most. Looking back on photos, it's cute and comical. But at the time, I definitely wasn't feeling it. So when it came time to go out trick-or-treating, I was always worried I'd look an impostor - one of those kids who was clearly too old to be out collecting candy. It wasn't rare for a well-intentioned stranger to remark about my height on a regular day, let alone Halloween when you're literally standing on their doorstep begging for candy and surrounded by small children. I dreaded the inevitable, "Really, only X years old?! But you are SO tall!" (thank-you captain obvious, just the reminder I need when all I'm trying to do at this age is blend in). Luckily, over time, I've gained some perspective. And more importantly, I've finally embraced that at 5'11", I'll often be one of the tallest in the room - and I'm completely okay with it. And now that I've outgrown both trick-or-treating and my insecurities about my height, I'm pretty much back to enjoying Halloween. Because it's the greatest excuse to make decadent treats.
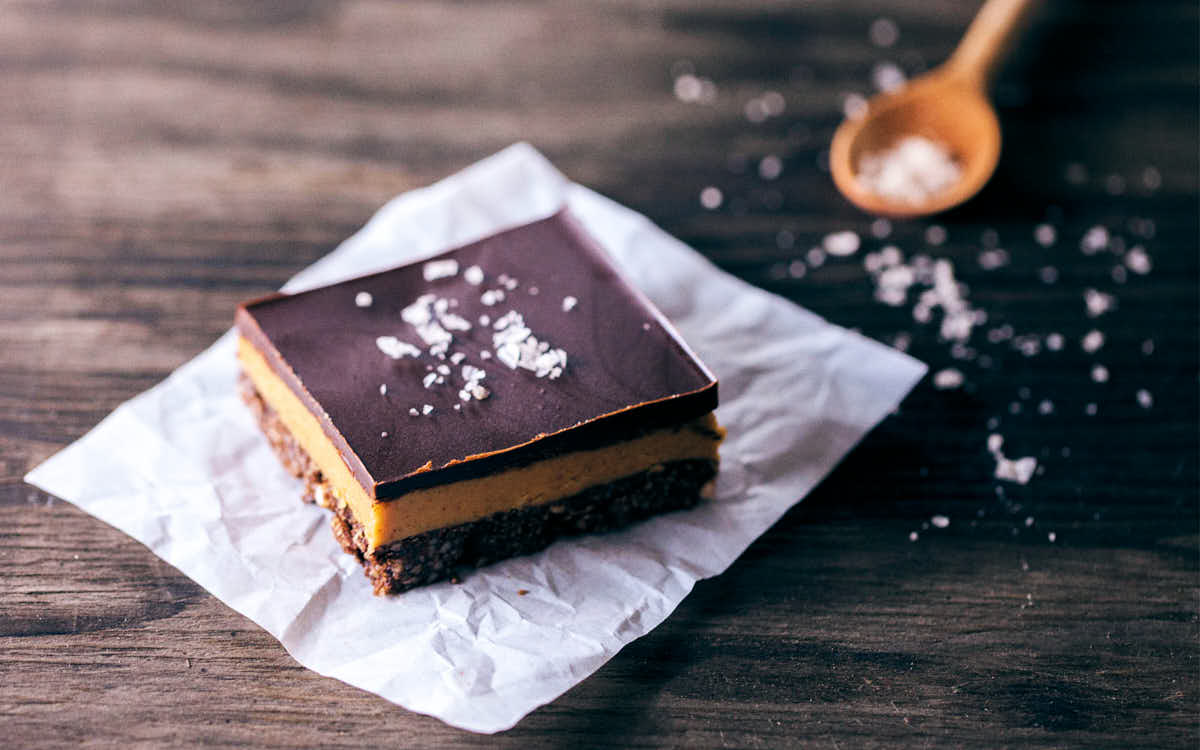
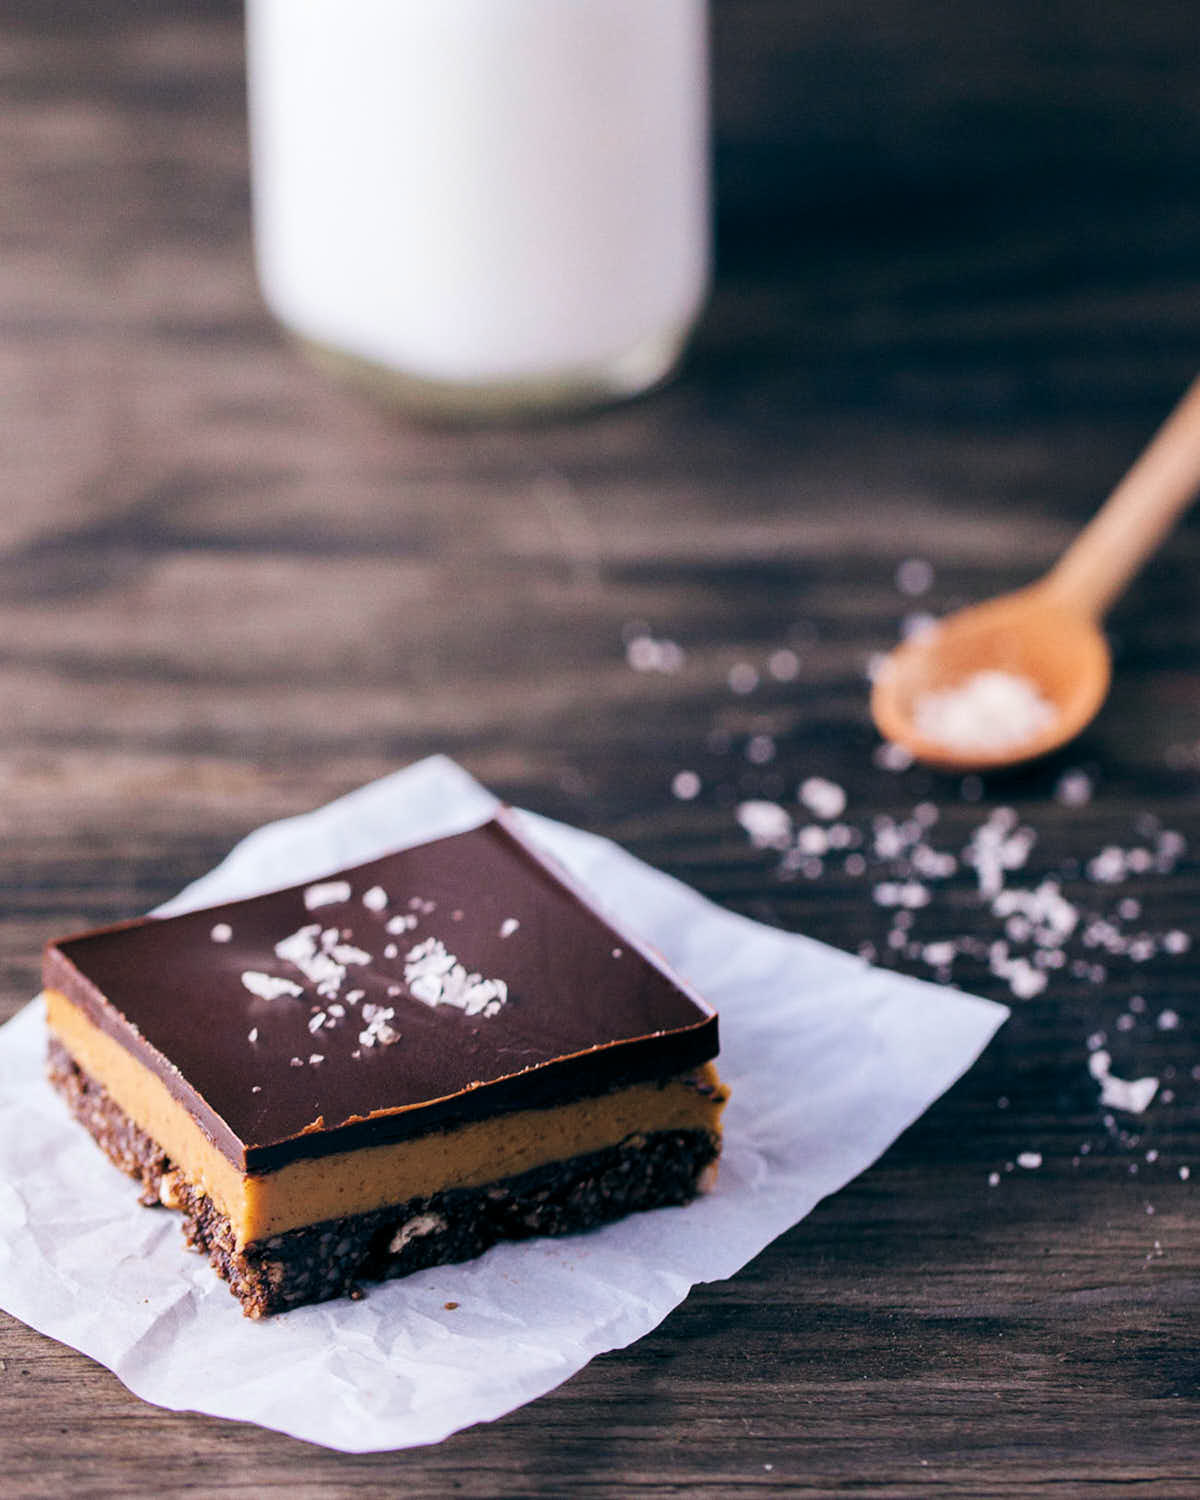
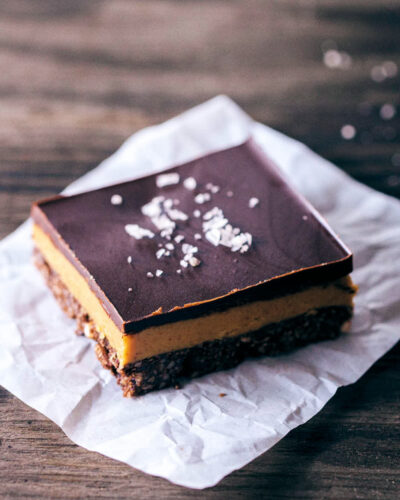
Since there's no shortage of sugary treats at this time of year, I instead opted to make an indulgent dessert loaded with healthier, good-for-you ingredients. And let me tell you, this dessert is literally the best of both worlds! It's sweet, creamy and covered in chocolate. Only you'll know they're not as naughty as they seem.
These bars are inspired by the flavors of a Halloween staple: Reese's peanut butter cups. That perfect sweet and salty combination that only chocolate and peanut butter can provide. I went with bars instead of cups for convenience. But in the end, it turned out to be the better choice. I managed to squeeze in an extra layer of chocolate crust - so now it's like a decadent peanut butter sandwich, but with chocolate instead of bread. My childhood dreams have finally come true. These chocolate peanut butter bars are totally addictive. I've been eating breakfast extra early so that I can sneak in a bar before lunch. There, I said it.
Save this recipe!
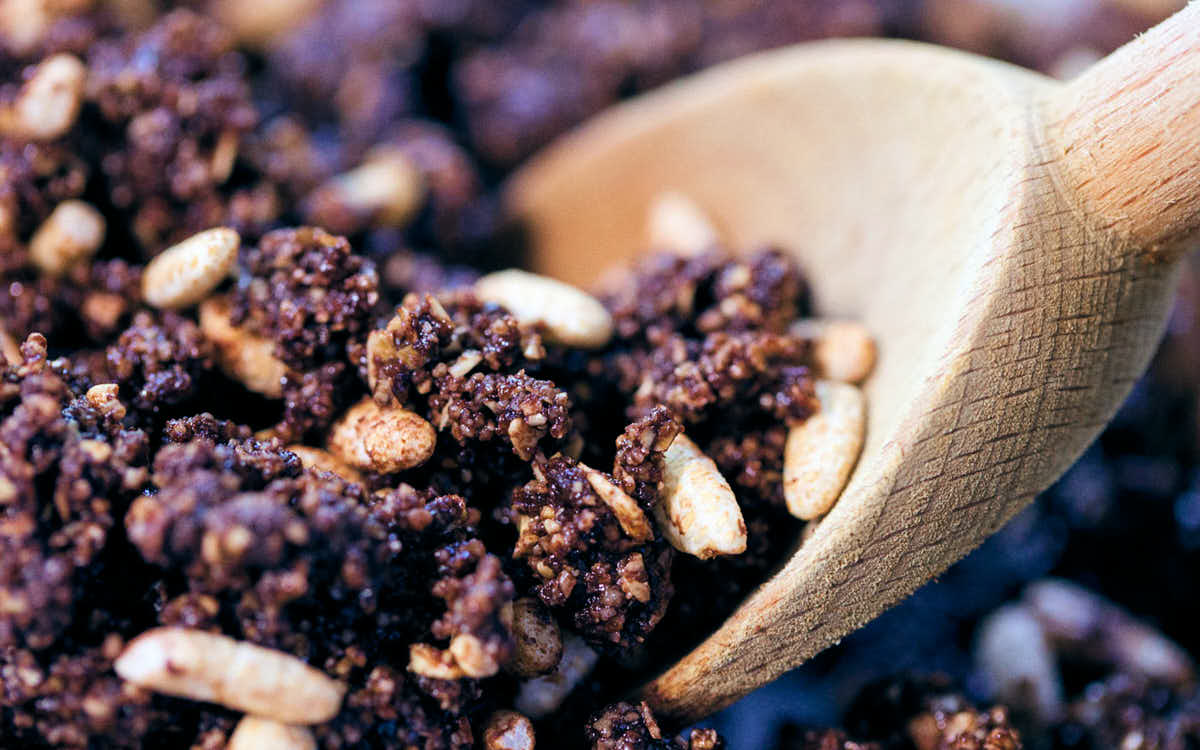
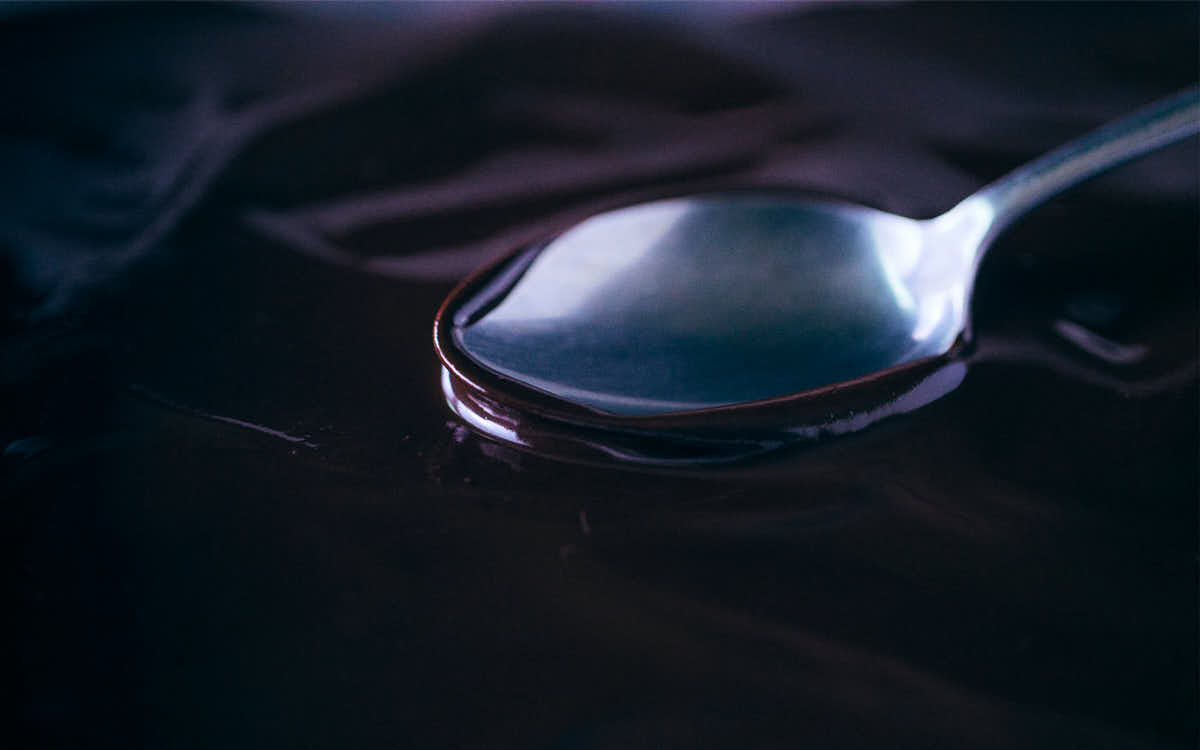
Despite having three layers, these bars are fairly easy to assemble. They're not quite "no-bake", but with 10 minutes of oven time, I think you'll find the time and health savings totally worth it. I like to bake the first layer to remove some of the moisture and gently toast the almonds and oats. Afterwards, you'll pour in a creamy peanut butter mixture, then a final chocolate layer over top. In this recipe, I used a quick, "cheaters" chocolate recipe for the final layer. I use this version when I don't have cacao butter on hand. But if you'd prefer to get gourmet and make your own chocolate from scratch, you can refer to this recipe for homemade vegan chocolate.
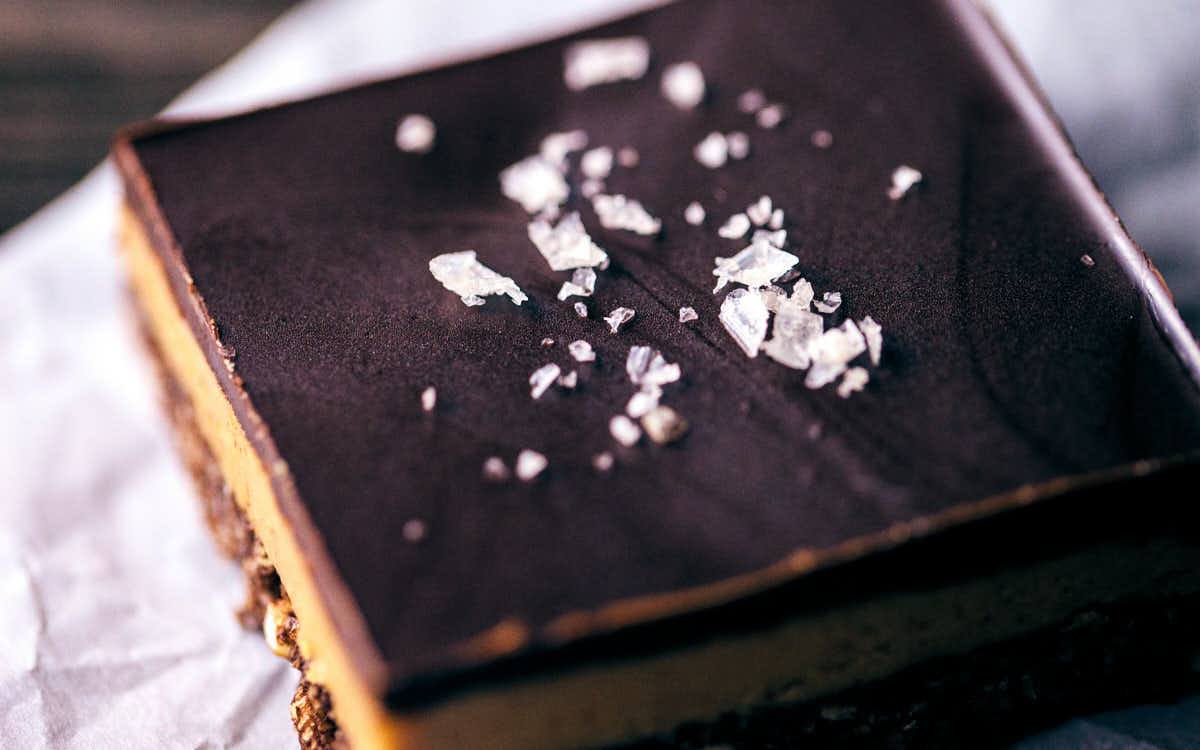
The hardest part about these bars is waiting for them to chill in the fridge. But, it's a necessary step in order for all the layers to set nicely. And once you take a bite, you'll know it was totally worth it. A sprinkling of flaky sea salt takes these bars totally over the top, and really enhances the sweet and salty combination you'll have going on. If you prefer, you can skip the salt – but I highly recommend it. Now, go give these bars a whirl and give peanut butter cups a run for their money!
📖 Recipe
Chocolate Peanut Butter Bars
Ingredients
Chocolate Crust
- 1 cup blanched almonds
- 3 tablespoons cocoa powder
- 6 Medjool dates, pitted
- 2 tablespoons maple syrup
- 2 tablespoons melted coconut oil
- ½ cup rolled oats
- ½ cup puffed rice cereal
Peanut Butter Filling
- 1 cup smooth natural peanut butter (unsalted, see note 1)
- 3 tablespoons melted coconut oil
- 2 tablespoons + 1 teaspoon maple syrup
- 1 teaspoon fine sea salt
Dark Chocolate Topping
- 3.5 oz (100 g) bar dark chocolate, roughly chopped (about 80% cocoa, see note 2)
- 3 tablespoons coconut oil
- 2 tablespoons cocoa powder
- 1 tablespoon maple syrup
- ½ teaspoon vanilla extract
- Flaky sea salt (for garnish)
Instructions
- Preheat: Preheat oven to 350°F (177°C). Line 1 (8-inch) square baking pan with parchment (see note 3).
- Chocolate Crust: Add almonds to a food processor and pulse until finely ground. Add cocoa powder, dates, maple syrup, and coconut oil. Process until well mixed. Transfer the mixture to the baking pan. Add rice cereal and oats, and use your fingers to mix (note 4). Then pack down firmly to create the first layer. If the dough is sticking, lightly wet your hands with water and continue. Bake for 10 minutes, or until the dough no longer looks damp. Let cool for 5 minutes.
- Peanut Butter Filling: In a medium bowl, stir together peanut butter, coconut oil, maple syrup and salt until smooth. Spread filling over crust. Use the back of the spoon to spread evenly. Refrigerate the pan while you prepare the topping.
- Dark Chocolate Topping: Gently melt the chocolate in a double boiler. Whisk in coconut oil and cocoa powder until smooth. Whisk in the maple syrup and vanilla. Pour over the peanut butter filling.
- Chill: Refrigerate until the chocolate topping is firm (about 2 hours). Sprinkle with flaky salt, then release from the pan and cut into bars. Refrigerate extra bars in an airtight container.
Notes
- Peanut butter: All natural peanut butter has a tendency to separate, so stir vigorously to mix before using. If you only have salted peanut butter, you can still use it; but add the salt to the peanut butter filling in small increments, and adjust to taste if needed.
- Chocolate: High-quality dark chocolate with about 80% cocoa doesn't usually contain dairy, but read the labels to confirm if you need it to be vegan.
- Baking pan alternative: If you have a square baking pan with a removable bottom, use it! In a pinch, you can use a 9-inch square baking pan instead (layers will be slightly thinner). If you're doubling the recipe, you can use one 13 x 9-inch rectangular baking dish instead of two smaller square pans.
- Technique tip: You could do this mixing step in a bowl if you'd like, but I usually do it right in the pan to save dishes.
- Baking by weight: For the most reliable results, we recommend measuring by weight when baking. Ingredient weights are provided in metric.
Linda says
Hi,
Wonderful recipe!! Would it be possible to use NOT to use blanched almonds? That process seems so labor intensive..
Thank you
Linda
bri says
Hi Linda! We just buy blanched almonds from the store - so it's not really that labor intensive! You can find them in the baking and/or bulk foods section. They're the almonds that are sold whole and already peeled. You could use whole almonds, but for this recipe we prefer blanched because having the skins removed makes them less bitter and slightly more neutral-tasting. Hope this helps answer your question!
Linda says
Can almond flour be used instead of blanched almonds? Seems such a process to blanch almonds.
Thanks
bri says
Hi again Linda:) We're definitely not recommending blanching the almonds yourself! Store-bought is the way to go, for efficiency. Our recommendation is to make the recipe as written/tested, using blanched (store-bought) almonds. But, if you must use almond flour, you can try using an equal amount by WEIGHT (grams). It won't be a 1:1 substitute by volume (cups). Hope this helps and have a great rest of your week!
Sophie says
Thank you for the delicious recipe! And it is even that much better because its healthy!
Do you think it would be possible to substitute another nut in the crust?
Or would it be too crumbly or not have as nice of a consistency?
Thanks!
bri says
Hi Sophie! So glad you enjoyed this recipe! Yes, you could probably substitute cashews. We haven't personally tested that substitute but I don't see why it wouldn't work. If you try it with cashews next time, let me know how it goes:)
Sophie says
These were delicious and it's amazing that they are relatively healthy!
Thank you for the recipe!
Do you think it would be possible to substitute another nut for the almonds in the crust?
Maybe walnuts or pecans or would it be too crumbly?
Thanks!
bri says
Hi Sophie! We're thrilled you enjoyed these peanut butter bars! Thanks for taking the time to write in. We haven't tested these bars with a nut substitute for the almonds, so can't say for sure. But, if you're up for experimenting, definitely try it! Cashews would probably be my first go-to, since it has a neutral flavor profile. Walnuts or pecans would impart their own flavor, which might not be a bad thing, but just figured I'd mention it! Let us know how it goes:)
Andrea says
These were a huge hit at our Christmas dinner! They're rich and delicious... Yum!
bri says
We're so happy these were a hit! Sounds like your Christmas dinner had an awesome dessert spread, wish we were there! Have a great rest of your weekend Andrea!
Jo says
Although this tasted delicious the base could not be 'poured' as it was very dry. When I tried to cut it the bottom layer fell to pieces. What did I do wrong? I am in the U.K. so maybe the ingredients differ? also, what (in ounces) do you consider a cup?
Bri says
Hi Jo! So great to hear from you!
The base (ie. bottom layer) should be on the drier side; the instructions are simply saying to dump out the contents from the food processor into the pan ("pour" just sounds a bit nicer than "dump" teehee). For this step it is very important that you take the time to press all the ingredients down firmly with your hands to create a solid base. It sounds like in your case, there's a chance you didn't pack the first layer down enough which is why it crumbled a bit at the end? Do you think this is what happened? Made these recently and had no troubles! Same with a lot of other readers. If you make them again and the base feels super dry for you, you can always add a bit more coconut oil. Sometimes even measuring cups are off at home.
The ounces/grams measurement for the chocolate is by weight as opposed to volume. Here in Canada (and US) most high quality plain chocolate bars are sold in 3.5 oz /100 g packages. This recipe calls for one of those (to make it easier for those without a scale). Based on online calculators, it looks like if you were using chocolate chips, the equivalent volume measurement would be 1/2 cup + 1 tbsp. Hope this helps!
Raia Torn says
Those look beautiful... 🙂
Robyn Gleason says
Hi Brianne,
I saw these in a round-up and little did I know they were yours! I thought they were Nanaimo bars and so of course, being a fellow BC'er, I had to check them out, lol.
These are SO much better! So much healthier and scrumptious looking. I'll have to admit to indulging in Nanaimo bars at Christmas but steer clear the rest of the year. Now I have your beautiful, healthy version!
Happy Holidays 🙂
Heidi says
These look so yummy! Pinning for later 🙂
Brianne B. says
That's awesome Heidi! Let me know when you make them - would love to hear how it goes:)
Melissa Klotz says
Yum!! How do you cut them so beautifully without the layers getting muddy? I hear ya on the wait time for them to set... but at least you can busy yourself with cleaning up the mess you've made so that when they're ready all you need to focus on is enjoying them 🙂
Brianne B. says
Hi Melissa - After they chill in the fridge, they'll slice up just like the picture:) Just make sure you use a sharp knife, and that's about it! I do know what you're talking about though - I've tried bars in the past that get a bit squished after slicing. I think it might have to do mostly with the peanut butter they use? I recommend using an all natural peanut butter (100% peanuts) in this recipe. If you're looking for clean layers, give this recipe a try! Would love to hear how it goes. And yes, sigh there's always the cleaning part. That's my least favorite, but definitely unavoidable...unless I bribe my boyfriend with pb bars in exchange for dish duty! (Anguel, if you're reading this, I swear I won't do this ALL the time)
Danielle Marie says
hi brianne, i'm soaking in your blog lovingly! your recipes are so delicious and your photography is perfectly complimentary. chocolate and peanut butter is one of my all time favorite combinations - there is something so indulgent. i bet it's entirely too hard to wait for these gorgeous bars to cool! xo
Brianne B. says
Hey Danielle! Awh that's so nice to hear! Glad you like the blog:) It's definitely tough waiting for them to cool - unless you do what I do, and distract yourself with a pre-snack snack! Self control = zero. Thanks so much for stopping by!
Athletic Avocado says
These squares look incredible! you can never go wrong with chocolate and peanut butter, especially when its in a healthy recipe 🙂
Brianne B. says
Thank you!! You're right - chocolate and peanut butter never lets you down. I don't know why I hadn't combined them more often!