If you read our earlier post on the Pros & Cons of Cast Iron Pans, you’ll know how important seasoning is for a cast iron pan. While “seasoning” might sound hard and scary, it’s really not as finicky as many make it out to be.
What is cast iron “seasoning”?
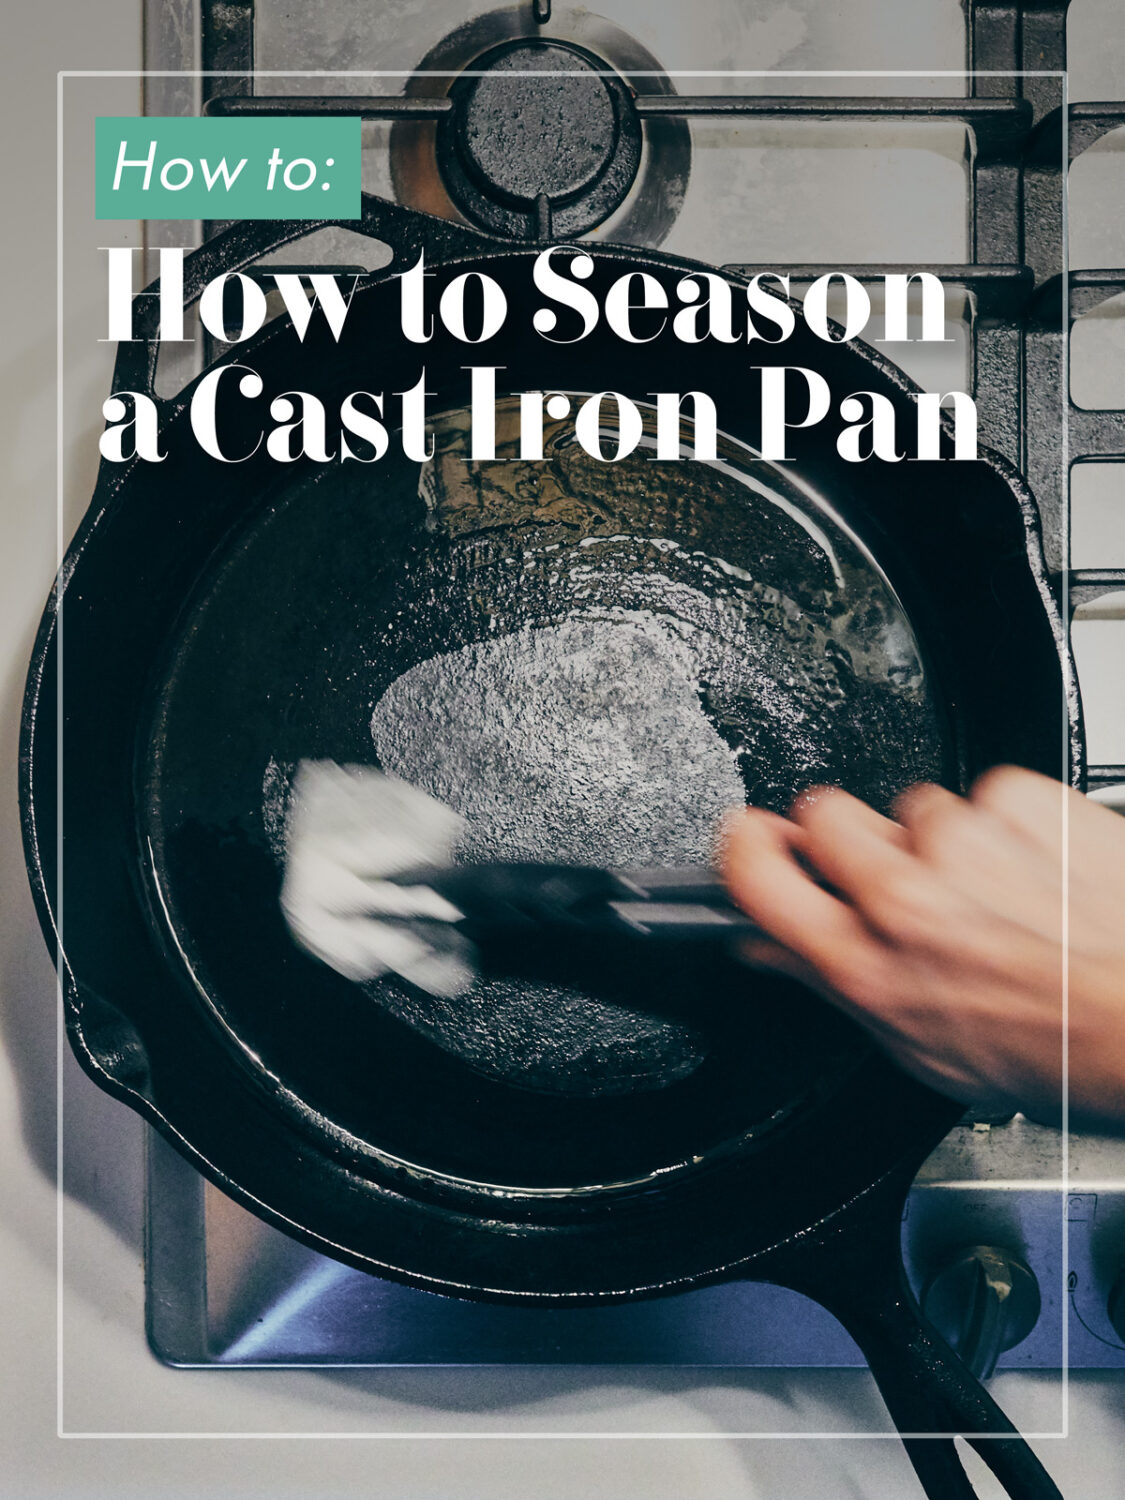
Seasoning is the act of adding oil to a cast iron pan, with the goal of it being as close to “non-stick” as one can get. The oil helps to fill tiny surface imperfections on the pan, because the truth is that even though your pan might look smooth, it’s covered with miniscule little bumps and ridges. This is what food can stick to. Unfortunately the seasoning process is not quite as simple as rubbing some oil onto the surface and calling it a day. Nope, there’s a cool chemical process called polymerization that’s key to a good seasoning.
Hold up: Poly-meriz-whattt? Polymerization occurs when oils are heated to a point where the fat molecules react, and bond together to create longer chains, which in turn bond to the cast iron. What is left behind is a baked-in oil coating that actually resembles plastic more than fat. Sounds weird, but this process is required to achieve the holy-grail “non-stick seasoning” we all want in our cast iron pans.
What if the pan I bought is pre-seasoned?
Long story short, even if you bought a “pre-seasoned” pan, we still recommend investing time to build up a better layer of seasoning. Factory seasonings are a good start, but they’re by no means perfect. If you want to be able to cook things like eggs on your pan without sticking, you’ll need to put in a bit of work. Trust us: it’s so worth it.
How to season a cast iron pan
We like to think of seasoning a cast iron pan in two parts. The first is your big initial seasoning. This is what you’ll do when you bring your cast iron pan home for the first time. It takes a bit of effort and time, but it’s not something you need to repeat often. This is what we’ll talk about today. Then, once you’ve built up a good layer of base seasoning, the rest is simply quick, ongoing maintenance.
Save this recipe!
Note: if you already have a cast iron pan, but haven’t been the best at taking care of it, you can always follow the steps for the initial seasoning. A neglected pan can come back to life with a good seasoning, so even if your pan isn’t new, this can make a world of difference!
The initial seasoning:
So you’ve got yourself a cast iron pan - now what? Well, first things first: you should season it. There are five steps involved with seasoning a cast iron pan: clean, dry, oil, heat, repeat.
Step 1 - Clean the pan: Use hot, soapy water to scrub and clean the pan. If there are any stubborn stuck-on bits, you can rub salt into the pan with a cloth or scrub brush to provide a bit more oomf. Rinse thoroughly.
Step 2 - Dry the pan: Once you’ve rinsed the pan, flip it over to shake off excess water in the sink. Then, put the pan on the stove and heat it up until all the water is evaporated. Drying the pan over the stove is a more thorough way to ensure all the water is gone, since a towel will always leave a bit of moisture behind. So, even if you want to towel dry first, always follow-up with the stove.
Step 3 - Oil the pan: Drizzle oil into the pan and use a paper towel to rub the oil in thoroughly. You’re aiming to get a thin layer of oil rubbed into every nook and cranny. Don’t forget the handle and bottom of the pan, they need love too!
When it comes to the type of oil: Unsaturated fats are preferred (think: neutral vegetable oils), since unsaturated fats are more reactive than saturated fats, and therefore are faster to polymerize. Also, almost everyone tends to have them on hand. Some sources tout pure flaxseed oil as being the best option for seasoning cast iron pans, but to be honest, we don’t bother because flaxseed oil is quite expensive - and we don’t think it’s necessary. You can get great results with other mainstream oils like grapeseed (our favorite) or canola.
Step 4 - Heat the pan: Preheat your oven to 475-500°F (or as high as it will go). Place a piece of tinfoil on the bottom rack, to catch any oil drips. This will make it cleaning easier. Then, place your oiled pan in the oven, face down, and bake for 1 hour. Putting your pan face down will allow any excess oil to drip off your pan and on to the tinfoil sheet below. Pro tip: Open as many windows as you can and also turn your kitchen fan to help air your place out. After the hour is up, let the pan cool in the oven. The surface should look darker than when you first started.
Step 5 - Repeat: Continue this process 2-3 times, until the surface is almost pitch black. It’s important that you always use a thin layer of oil for each coat. If you go too thick, you risk it coming out sticky (a clue the oil didn’t properly polymerize). Again, flipping the pan upside down will help extra oil drip off as well. After you’ve repeated the process enough times, consider your pan “seasoned”. Now, you’ll just need to maintain your pan with regular use. As you continue to use your pan with everyday cooking, you’ll help it build up it’s seasoning further.
After following these steps, you can now consider your pan “seasoned”! Once your pan has been through its initial seasoning, the best advice is to use the pan regularly. With proper care and maintenance, your cast iron pan will only get better with time. Keep reading to learn more on “How to Take Care of Your Cast Iron Pan”.


Kyt says
Nice tips. I had to do similar to restore a pan I restored
I started by soaking it in vinegar and water for an hour, followed by scrubbing it with chainmail, then rinsing and drying it
Instead of using the oven though I went with putting a thin layer grape seed oil on the skillet then threw it on the grill for an hour, re-season and repeat 2 more times
I then chopped and grilled 2 onions on it to remove the metallic taste
After all that it's now my pride and joy
Mark says
Thank you. I have seen many you tube "hot shots" grinding and sanding down brand new Lodge preseasoned pans, criticizing them against vintage Erie and Wagoners. Is this really necessary?
Bri says
Hi Mark! As with a lot of things, "necessary" is really in the eyes of the beholder:D. "Back in the day", cast iron pans typically went through a step of grinding down the surface to a smoother finish, to remove/reduce the teeny tiny bumps/crevices that are in the surface of the pan after being released from the mold. "Nowadays" more modern manufacturers often skip this step (time = money!) , and instead opt for a "factory seasoned" finish, which is them spraying & baking an oil finish over top of the pan to try and fill some of those bumps/crevices. This seasoning, because it gets baked on at high temperatures, polymerizes with the pan to create a plastic-y coating. Both are trying to accomplish the same thing; and you could argue that the old school method - especially when paired with at home seasoning / polymerization - is the most comprehensive approach. THAT SAID, you could say this about a lot of things, and often the more "practical" version wins out. Personally, we use our Lodge pan on a daily basis. No, we did not grind and sand it down, but yes we did go through the steps of doing a better season on the pan as outlined in this post (rather than just relying on the preseasoning from the factory). I have compared our pan to the cast iron that my grandma has had for decades, and I can visually see and feel the difference between them (hers is vintage)...but to be honest, we've never had an issue with our pan doing what we need. So, in our opinion grinding & sanding down newer pans is not necessary to use it for the purposes that most cooks need (if you do grind it down, make sure you do it right otherwise you could end up making it uneven in other ways). Obviously, if you have the budget / time / interest to either hunt down a vintage cast iron - or splurge for specialty brands that are still manufacturing through the old methods - then that's awesome and we bet you'll love it! That said, most people do just fine with spending less than $30 on a Lodge version. Just our two cents at least! Hope this helps and don't hesitate to reach out with any other questions. Cheers, Bri
Cheryl says
Can you soak your pan for a few minutes?