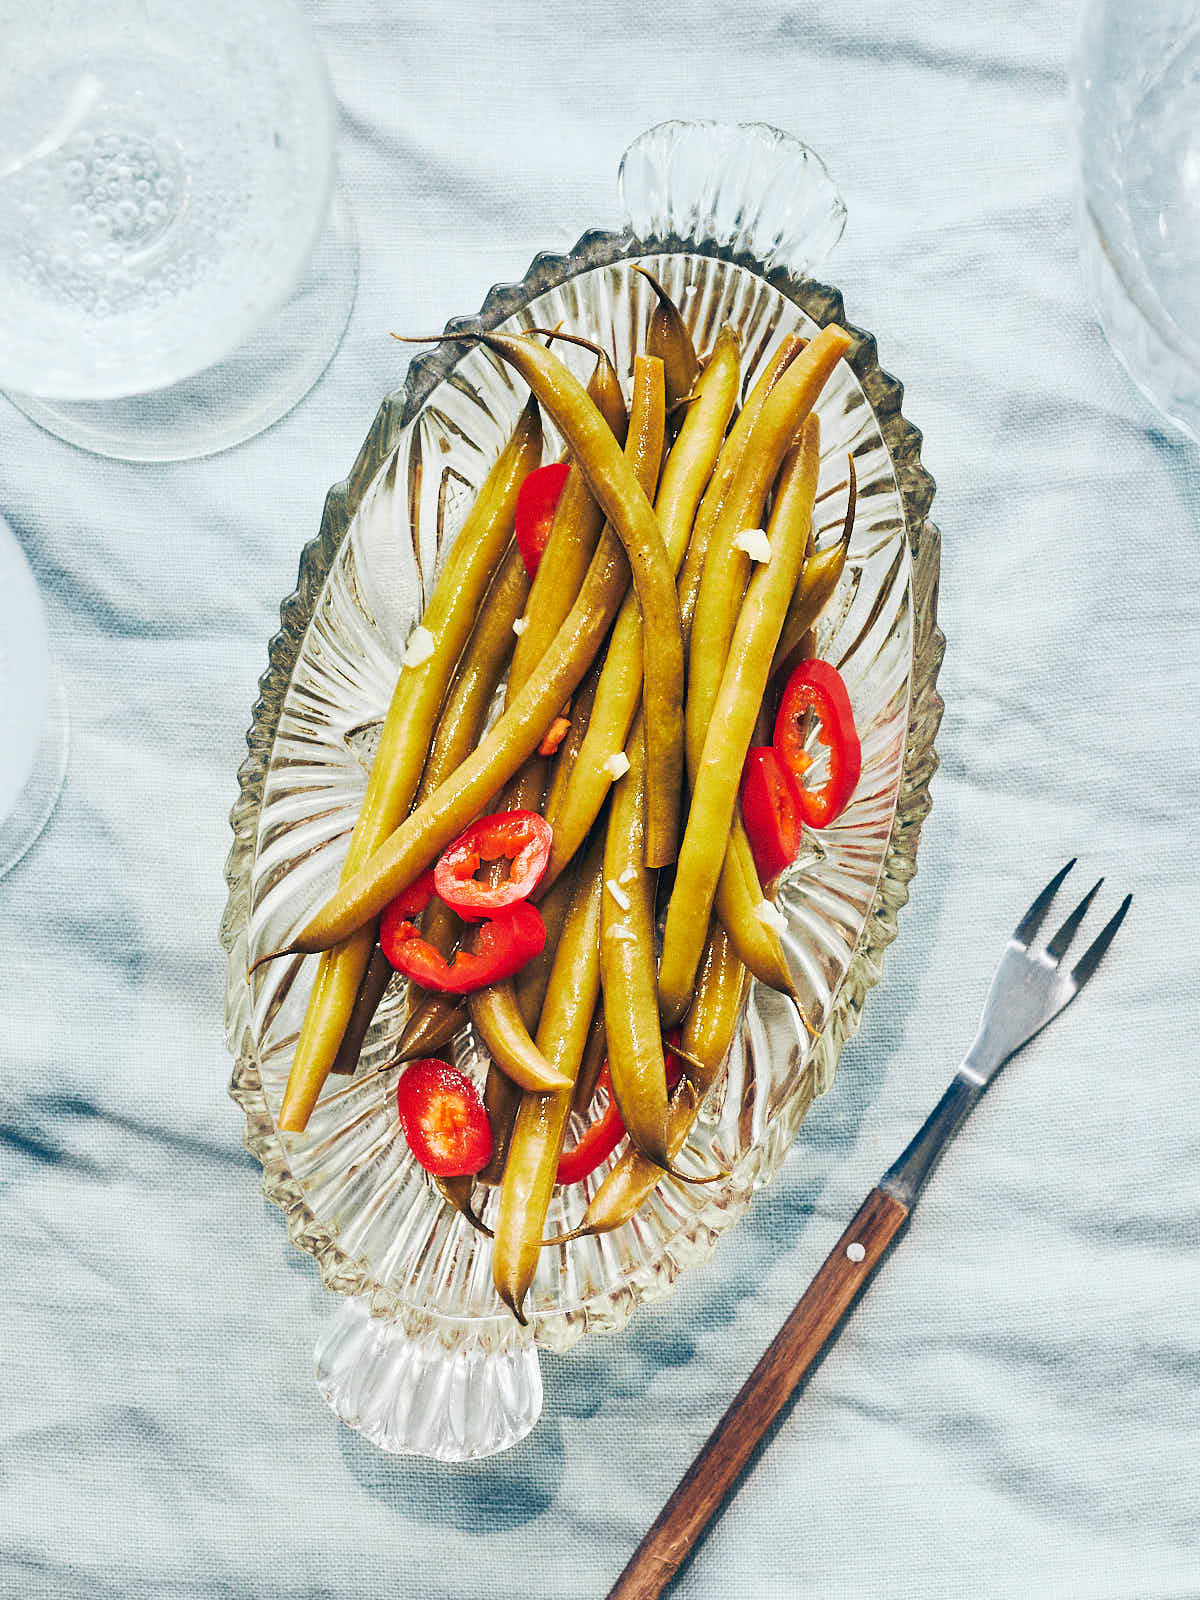
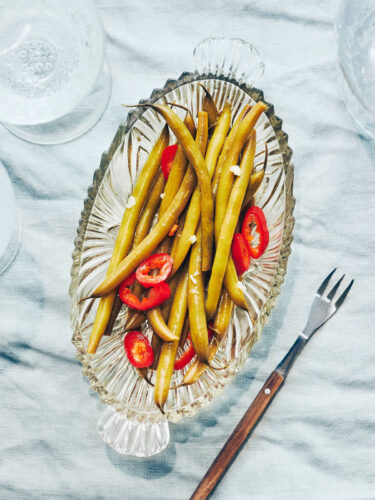
Pickled green beans are seriously underrated. Especially the spicy ones. There, we said it. Quick pickled green beans are briny, salty, tangy—and borderline addictive. Every time we set them out on the table, they disappear amazingly fast. You can add pickled green beans to cheese boards, cocktails (like a Caesar or Bloody Mary), or keep it simple and eat them straight from the jar. If you like quick pickled onions, pickled red cabbage, classic pickles, etc. then you're going to love these!

Key ingredients
All you need are a handful of ingredients to make pickled green beans—and you probably have most (or all) of them already!
- Green beans: Use fresh green beans and trim off the tops. You could also trim off the bottoms, but we usually leave the curly bottoms on because it saves time (and they're kinda cute!).
- White vinegar: Vinegar is essential for pickling. Similar to our Pickled Red Cabbage recipe, we use white vinegar here because it provides an intense tang. White vinegar is also the economical choice—it's often ess expensive than other types of vinegar.
- Boiling water: When pickling, you want to use water to dilute the vinegar, otherwise the brine would be way too intense! Using hot water helps to dissolve the salt and sugar, and kick starts the brining process.
- Garlic: For flavor, of course! If you love garlic, you can definitely add more.
- Chili: If you like things spicy—like we do—add a chili pepper to the brine. We use Fresno chili when we can find them, but jalapeno peppers work too. They have similar levels of heat. Or, you can substitute with crushed red pepper flakes. If you're sensitive to spice, you can leave the chili out.

How to make
It's very easy to make homemade quick pickled green beans. All it takes are 3 quick steps:
- Blanch the green beans: The first step is to add the fresh green beans to boiling salted water. Let them cook very quickly—just 30 to 45 seconds—until bright green and barely tender. The green beans will continue to soften in the brine, so don't overcook them at this stage! The goal is just to remove the "raw" taste. Then, transfer them to an ice water bath to stop the cooking process.
- Make the brine: The brine is made with hot water, which dissolves the salt and sugar. Then stir in the white vinegar. That's it! We usually boil the water in a kettle, but you could do this step on the stove if you prefer.
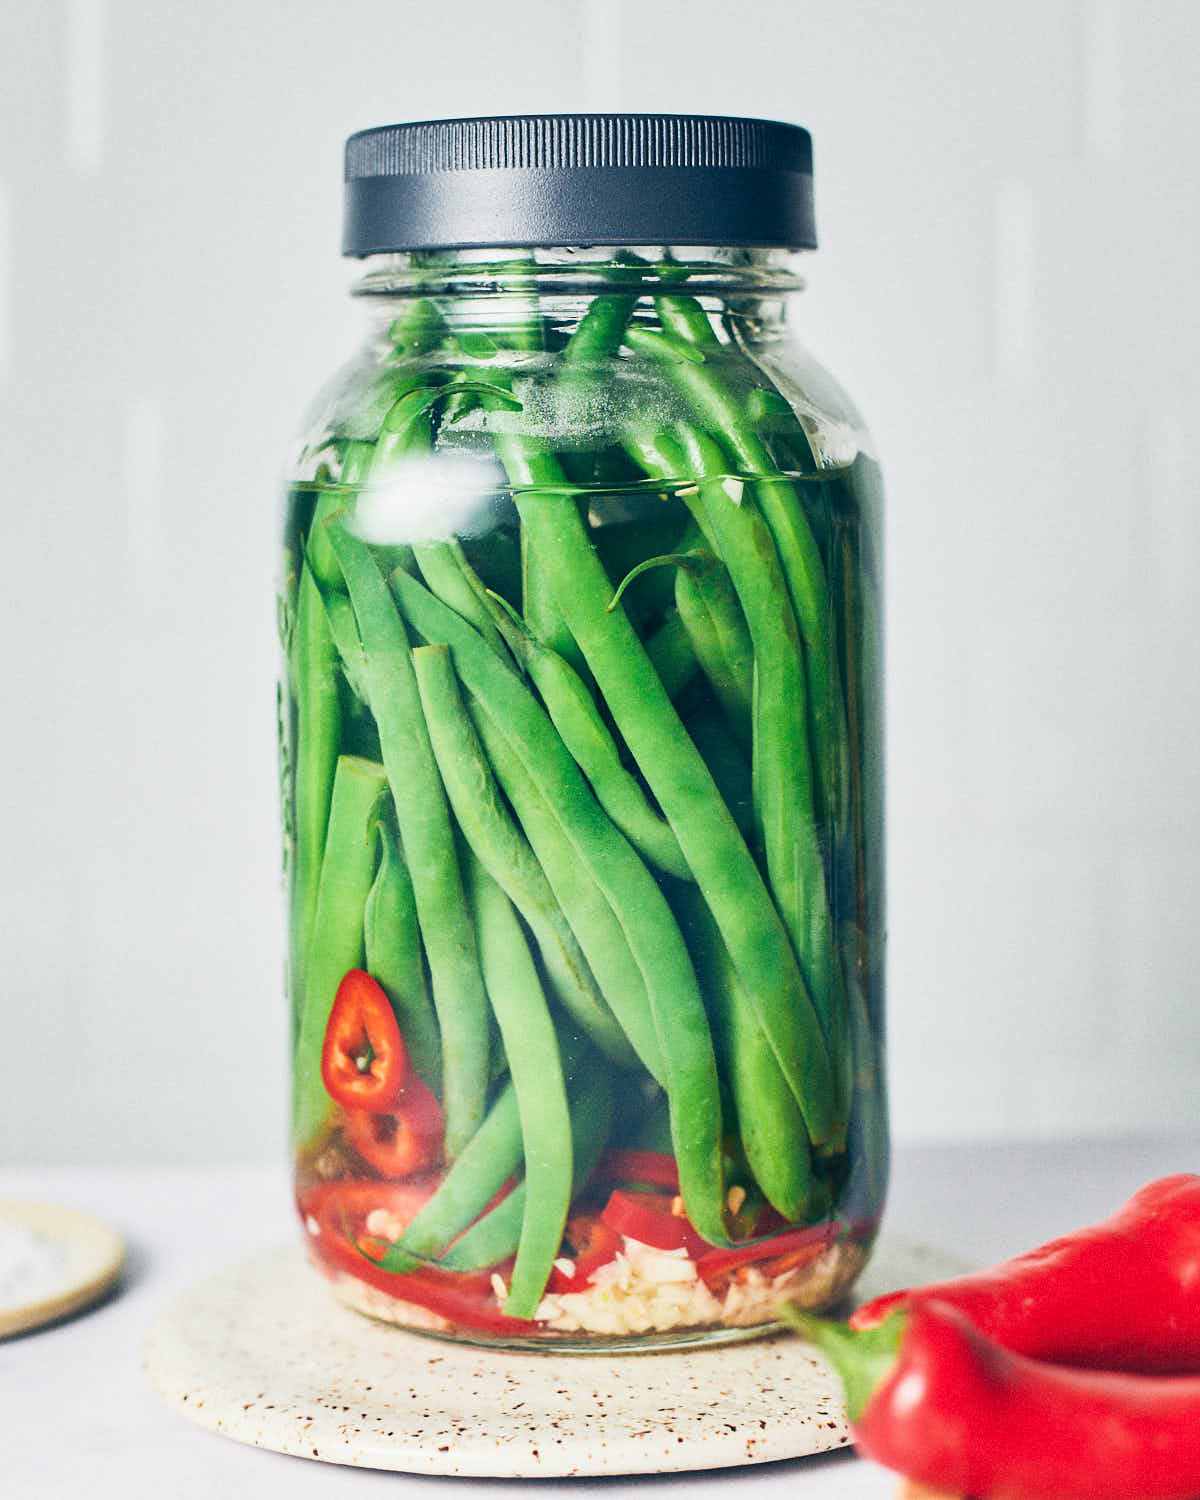
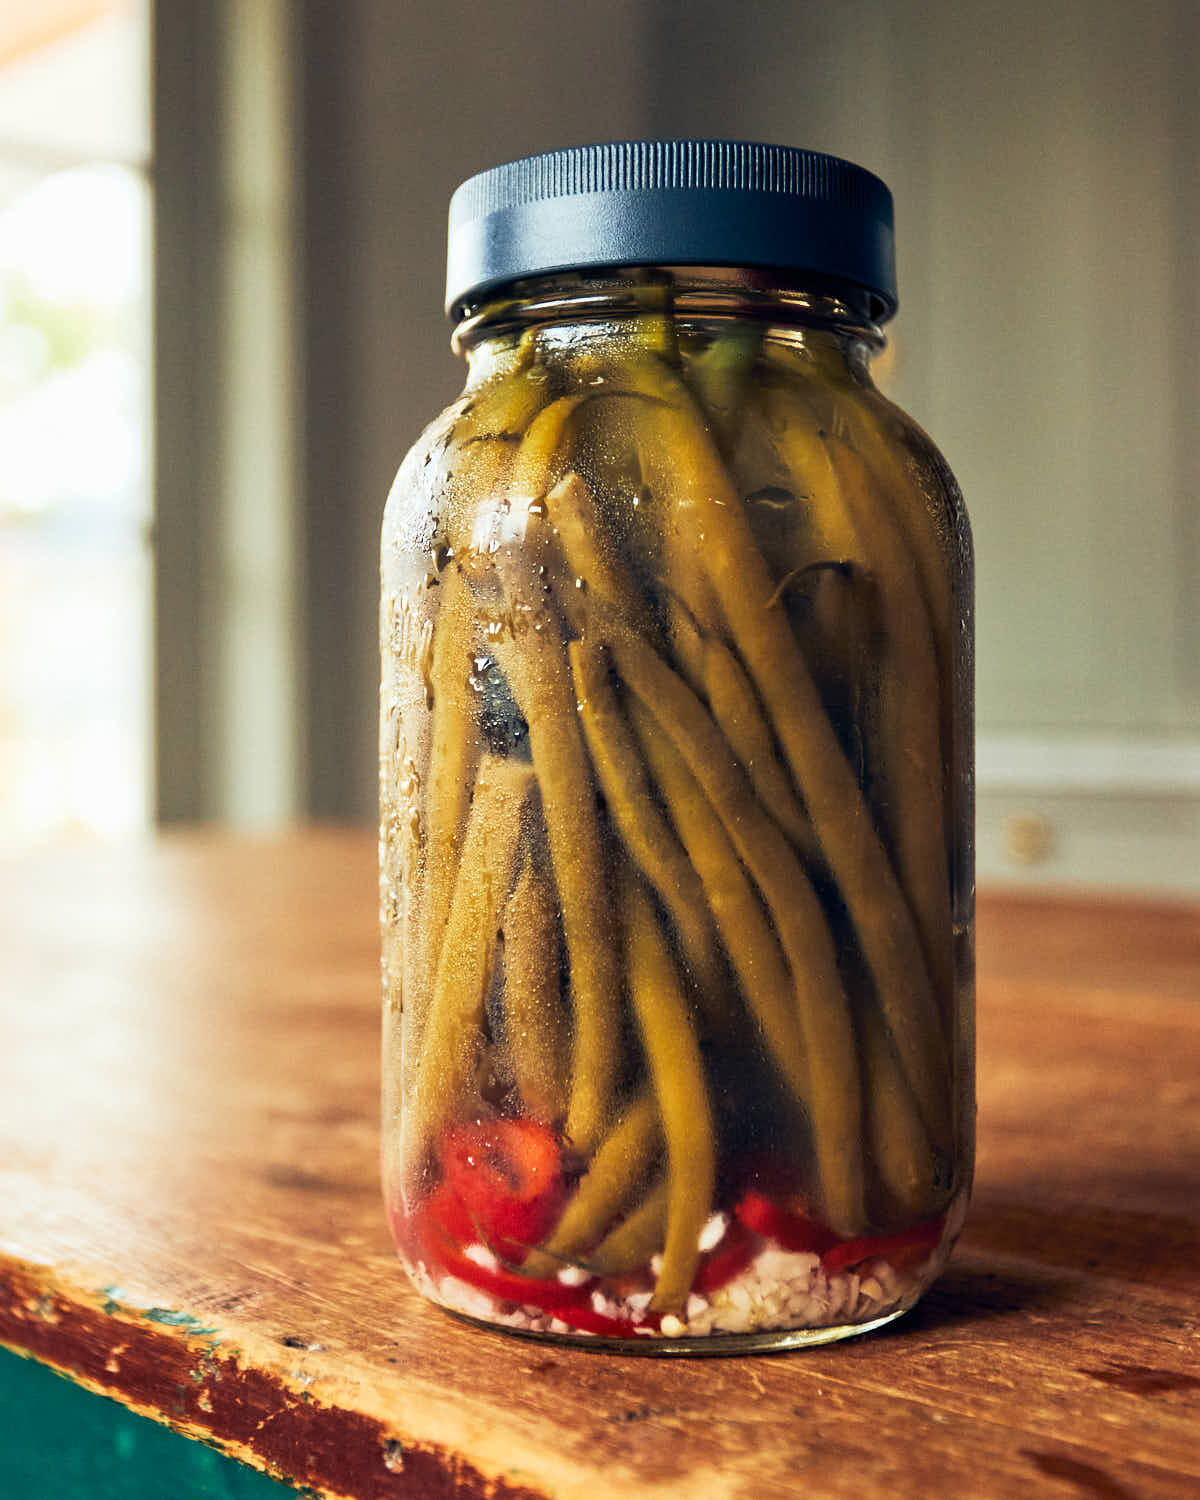
- Assemble: In a mason jar, combine fresh garlic, chili (if you want spicy quick pickled green beans), blanched green beans, and the brine. Seal and refrigerate at least overnight. As the beans pickle, their color will dull and they'll absorb the taste of the brine. When your beans look like the second photo below, they're ready to enjoy! If you made spicy beans, they'll get spicier the longer they marinate.

Serving suggestions
If you're looking for inspiration, here are some of our favorite ways to serve quick pickled green beans:
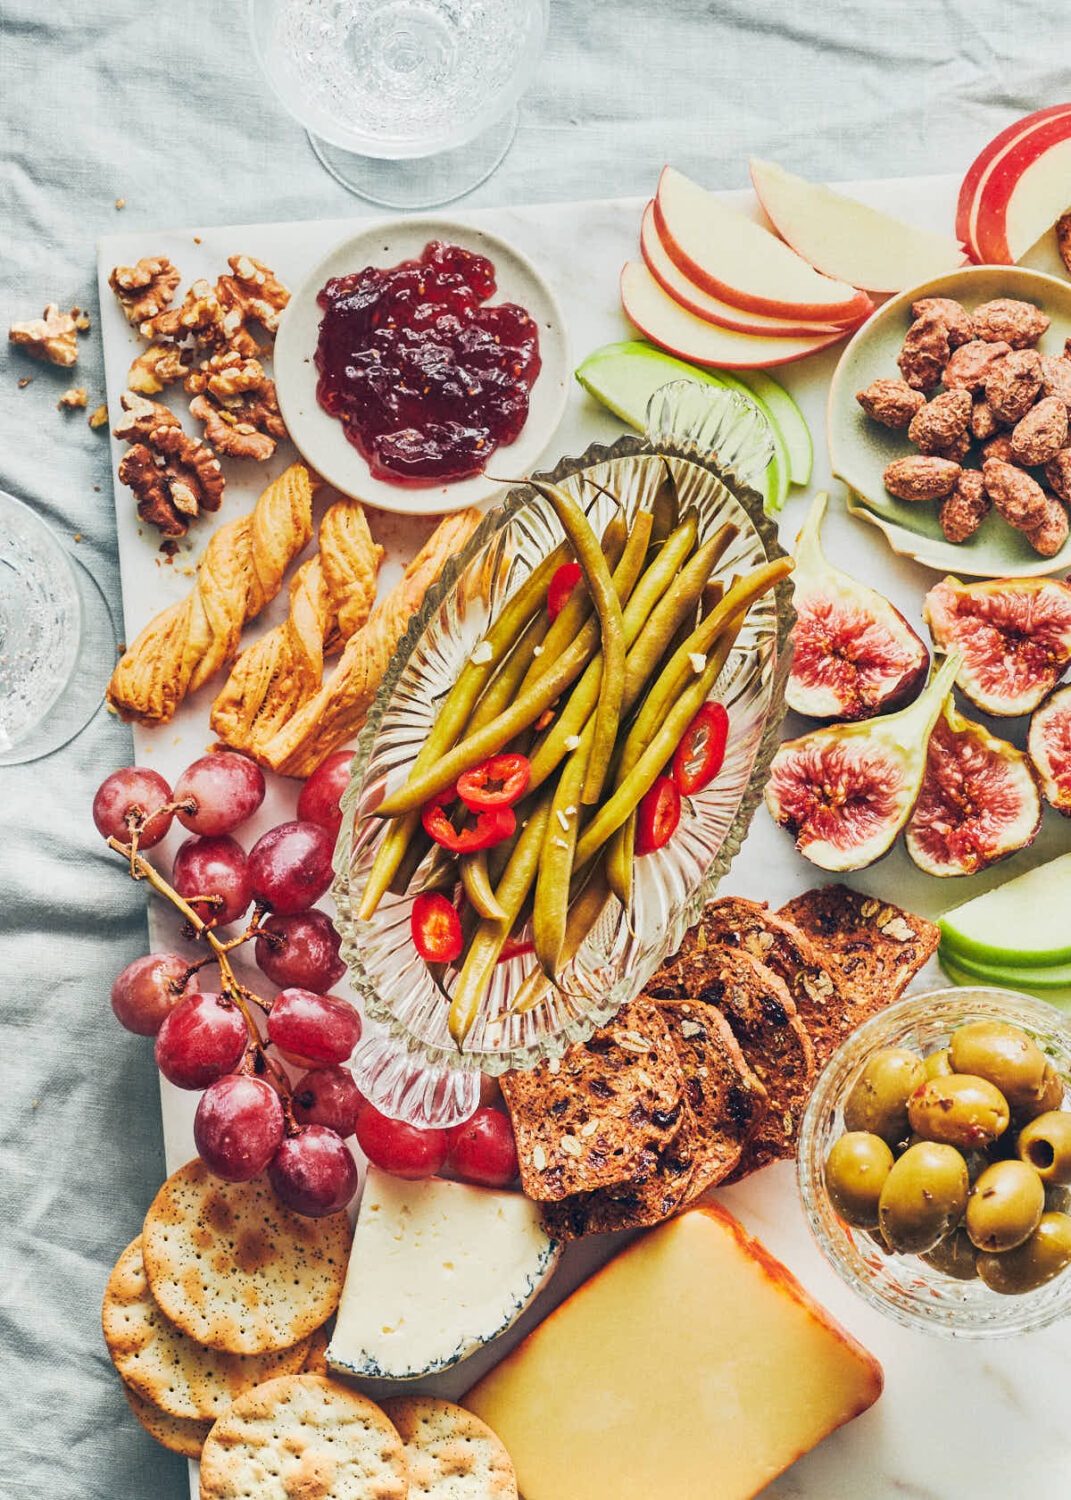
- Cheese board: Arrange a small dish of quick pickled green beans onto a cheese platter along with your favorite accompaniments. We usually add an assortment of cheeses, crackers, fresh fruit (like apple, figs, grapes), olives, nuts (like walnuts, candied pecans), and jam.
- Cocktails: Tuck a pickled green bean (or two!) into a cocktail, like a Bloody Mary or Caesar.
- Sandwiches: Add whole (or chopped) pickled green beans into a sandwich for a bit of tang and crunch.
- On its own: When entertaining, we like to set out a small dish of spicy pickled green beans with dinner. But when we're on our own, we usually snack on them straight from the jar!

Frequently asked questions
We recommend white vinegar in this recipe because white vinegar tends to be the most economical option. That said, you could substitute it with white wine vinegar. In a pinch, you could use rice vinegar, but it'll be milder in flavor.
We tested this recipe with raw and blanched green beans. In a side-by-side taste test, we much preferred the blanched green beans. The raw green beans tasted....raw...even after pickling. So, yes, you should blanch the green beans first. That said, the green beans should be in the boiling water for no longer than 45 seconds. The beans will continue to soften in the brine, so you don't want to overcook them at this stage.
Quick pickling is considered a short-term preservation technique. It relies on acid (vinegar) and salt—rather than fermentation. Also, quick pickling typically skips the process of using a pressure canner or hot water bath. As a result, quick pickles have a shorter shelf life (compared to traditional canning).
While many people store their quick pickles for longer, we recommend up to 2 -3 weeks in the fridge. Can they last longer? Often, yes. But since we're FOODSAFE certified, we believe in sharing food safety's best practices. You are of course free to use your own judgement and discretion to do what's best for you. That said, these pickled green beans are so tasty they tend to get devoured in no time!
There are many ways to eat quick pickled green beans! You can enjoy them straight from the jar—or add them to a Bloody Mary or Caesar cocktail, cheeseboards, or sandwiches.
Simply add equal parts of vinegar and water until the tops of the green beans are covered with liquid. Topping up the brine with a 1:1 mixture of vinegar and water helps keep the acidity consistent (if you just add water it would dilute the mixture).

📖 Recipe
Quick Pickled Green Beans
Ingredients
- 12 oz fresh green beans (trimmed)
- 1¼ cups boiling water (for brine, more for blanching, see note 1)
- 2½ teaspoons fine sea salt (more for blanching)
- 1 teaspoon granulated sugar (or cane sugar)
- 1¼ cups white vinegar
- 2 cloves garlic, minced
- 1 fresno or jalapeno pepper, thinly sliced (or ½ to ¾ teaspoons red pepper flakes, optional)
Instructions
- Blanch green beans: Bring a large pot of salted water to a boil over medium-high heat. Meanwhile, fill a large bowl with ice water. Add green beans to boiling water and cook until bright green and barely tender, 30 to 45 seconds (see note 2). Use tongs to transfer beans to ice water. Let cool, in ice water, for 2 minutes. Drain in a colander.
- Make brine: Combine boiling water, salt, and sugar (see note 1). Stir until dissolved. Add vinegar.
- Assemble: To 1 (1L) mason jar, add garlic and chili (if using). Add drained green beans, then pour in brine. (If the brine is not covering the green beans, add equal parts water and vinegar until covered.) Cover with a lid and refrigerate overnight. Green beans are ready to eat when they dull in color and taste tangy.
Notes
- Boiling water for brine: We usually use a kettle to boil the water for the brine—and then combine it with the sugar and salt in a heatproof glass liquid measuring cup. This way you can easily measure and pour the brine, without dirtying other dishes. If you prefer, you could boil the water in a small saucepan over the stove, and dissolve the sugar and salt directly in that.
- Cooking the green beans: The green beans will soften in the brine, so you're not looking to fully cook the green beans in this step. Just a quick 30 to 45 second boil to help remove the "raw" taste and soften them slightly. Avoid overcooking, as you want to retain some "snap" in the finished beans. In developing this recipe, we also tested this recipe without blanching/cooking the green beans—they tasted too "raw", so we don't recommend skipping this step.
- Storage instructions: Keep quick pickled green beans sealed in the fridge. Quick pickling is a short-term preservation technique, so use in 2 to 3 weeks.
- Serving suggestions: Quick pickled green beans are a delicious snack—straight from the jar. You can also add them to cheese boards, cocktails (such as a Bloody Mary and Caesar), or set them out with holiday appetizers for snacking.
Nutrition


LEAVE A COMMENT