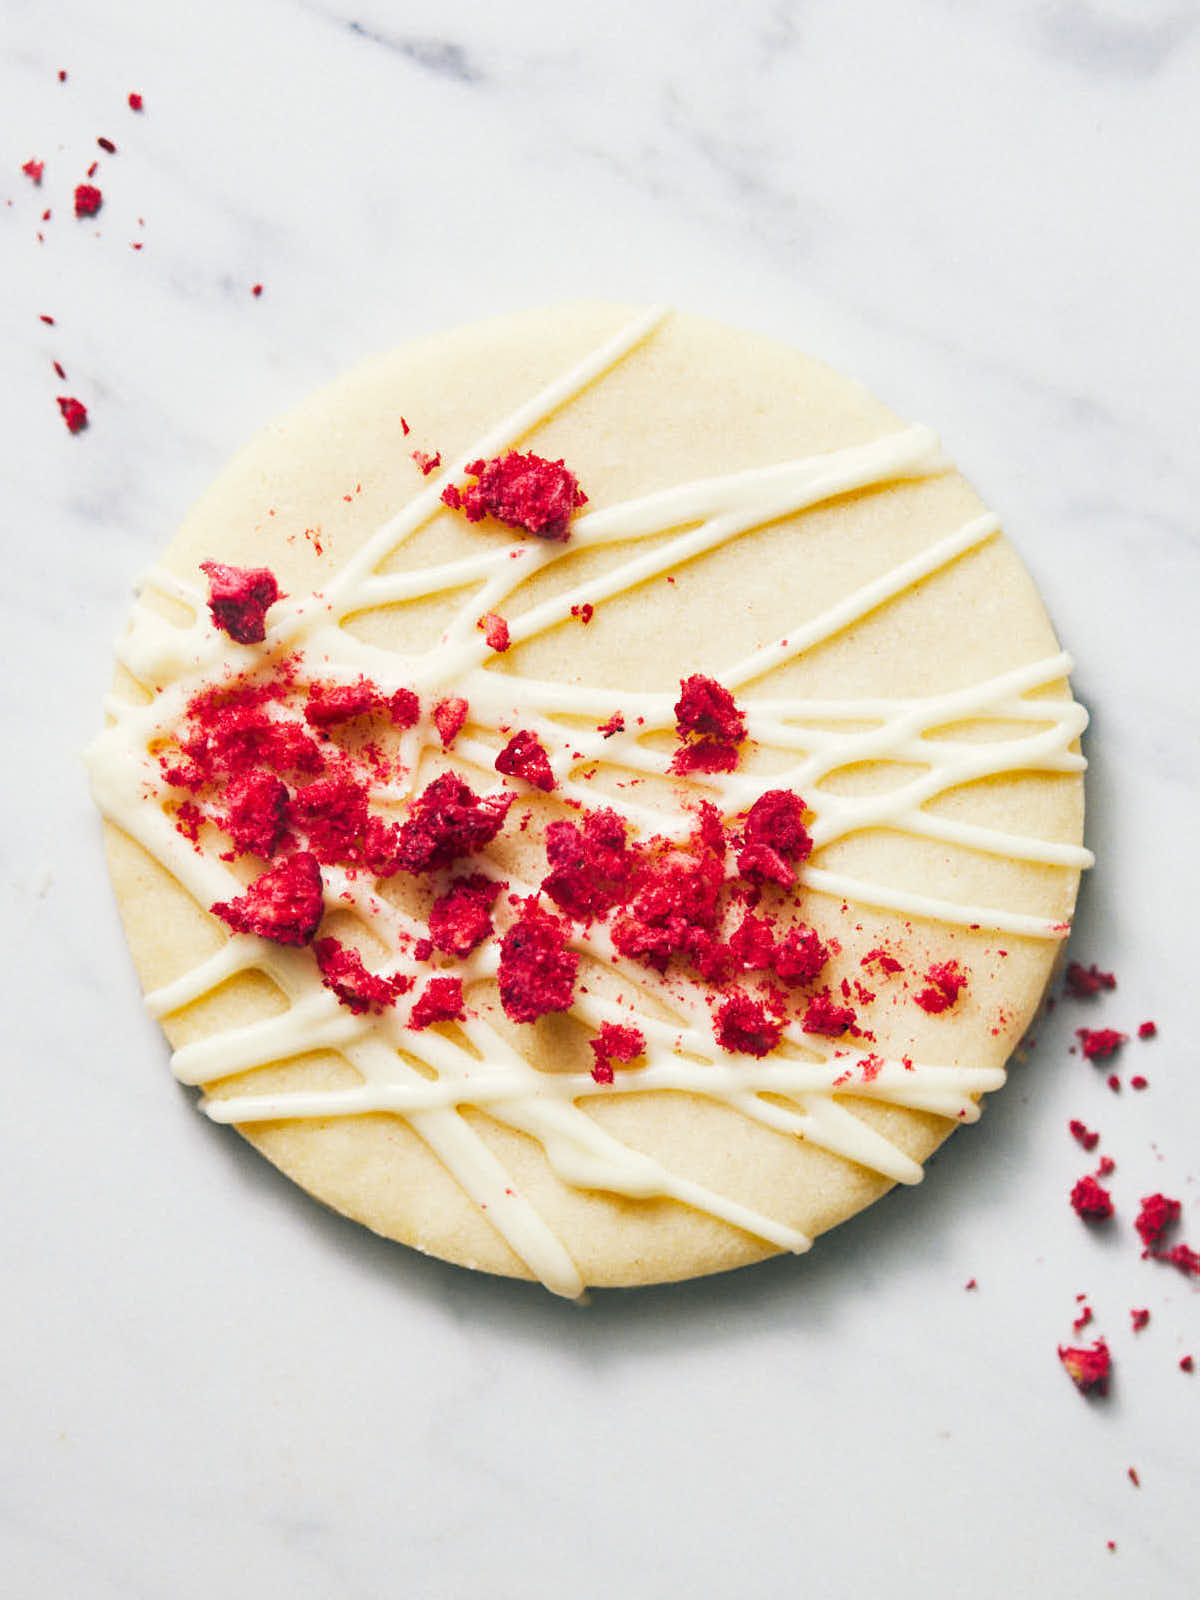
Cookies are the most perfect food. They’re snack sized, hand-held, portable, delicious - and can just sit there on the counter for whenever you want a sweet little treat. Lately, we’ve made it a habit to always have a stash of cookies near our kettle. It seems only right to dig into the cookie jar once our pot of tea is ready. And lately, we’ve been obsessed with these White Chocolate Raspberry Cookies.
This sugar cookie base isn’t tooth-achingly sweet, like a lot of sugar cookies out there. The cookies are extra tender and soft, thanks to the small bit of sour cream in the dough (a trick my aunt taught me decades ago!). You can’t really taste the sour cream, but it does add a little je ne sais quois element that we love.
When it comes to decorating, we love this method because it provides a big payoff, for very little effort. And you absolutely do not need to have any fancy piping/decorating skills to pull it off! Rather than making a super sugary icing for these sugar cookies, we instead go for a light drizzle of melted white chocolate. It’s super easy and adds just the right amount of sweetness. The melted white chocolate also makes for the perfect canvas for sprinkling some freeze dried raspberries on top. The raspberries aren’t just for show (although they are very pretty, don’t ya think?!). They also provide a pop of tartness, which balances out the sweetness of the chocolate. If you’re feeling very fancy, you can also add in some freeze dried blueberries and/or edible dried flowers, but this is totally optional! In any case, the combo is amazing. It’s been fascinating to see family and friends - who are usually indifferent about a sugar cookie - devour multiple of these in one go. Some have described it as “the best adult sugar cookie”, but we’ll leave that to you to decide!
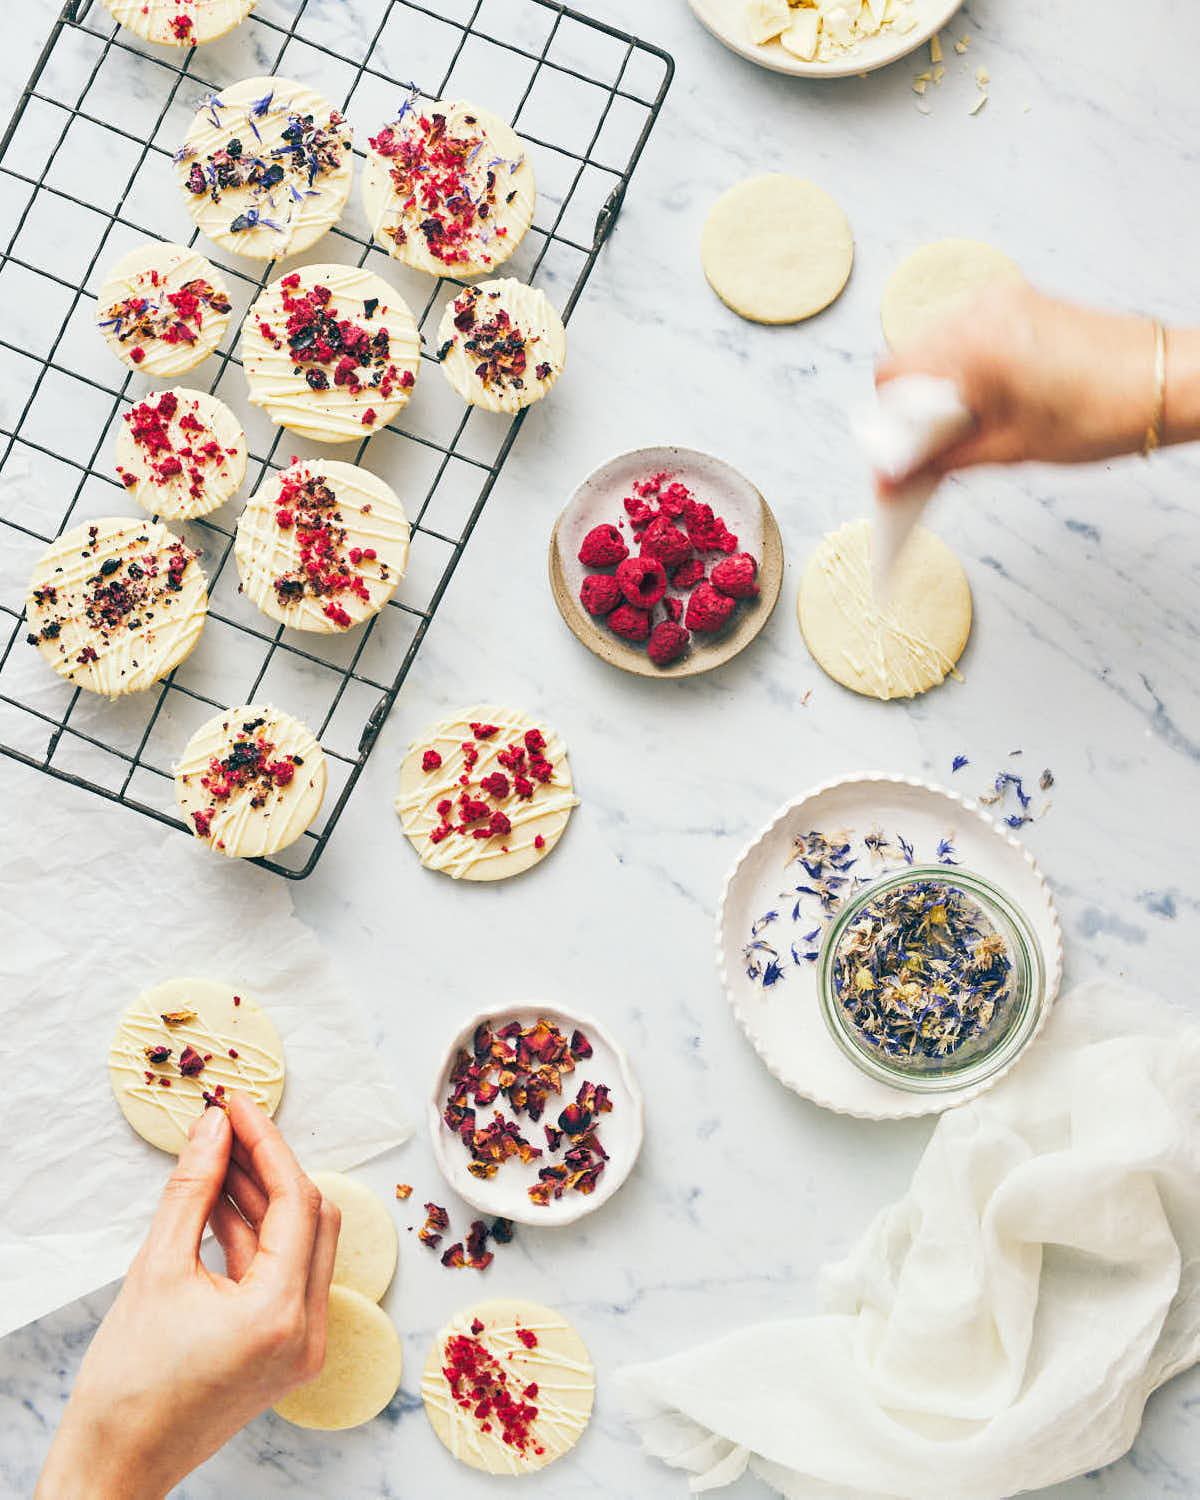

Like most sugar cookies, the dough does benefit from sitting in the fridge to firm up, before rolling and cutting. It doesn’t need a long time in the fridge, but do plan for some. It’ll make it easier to roll the dough out (otherwise it is quite soft). If you want to split up the process, you can make the dough the night before, refrigerate it overnight, and do your baking and decorating the next day. It’s also the kind of thing where you can bake and cool the cookies in advance, and have some helping hands come in for decorating. Since the results are very pretty, no matter what “skill level” everyone is at, it makes for a fun and very relaxed decorating “party”. In other words, anyone can do it.
When it comes to drizzling the melted white chocolate, there are a number of options, but we’ve listed our two favorites. If you’d like to have the ultimate control, then you can make a parchment paper piping cone, like we did for this recipe. Serious Eats has a great tutorial here on how to make a parchment piping cone, if you haven’t done it before. Or, if you want an even faster and easier method, you could dip a fork into the bowl of melted chocolate, and wave it back and forth over the cookie to deposit the melted chocolate on top. Both work well, and both make a delicious and pretty cookie, so choose whichever method you prefer.
A few other notes on this recipe:
- If your dough feels too soft after 1 hour in the fridge: We’ve found that 1 hour in the fridge lets the dough firm up enough to gently roll it out. But fridge temperatures vary, so an hour or two longer definitely doesn’t hurt. If you are having trouble rolling the dough, then return it to the fridge and let it chill a bit longer to continue to firm up. You can keep the dough in the fridge overnight, or up to 2 days.
- If you refrigerated your dough overnight or longer: Usually we find we can just roll the dough out straight from the fridge, but if it feels too firm for you to roll, then let the dough sit on the counter for 10 minutes to soften before rolling.
- Flour for dusting: Do make sure to dust your countertop and your rolling pin with flour so the dough doesn’t stick.
- Melting white chocolate over a double boiler: We recommend a double boiler for melting white chocolate. To do this: Set a pot of water on a gentle simmer, set a heat-proof bowl over top the pot (ensuring the water is not touching the bottom of the bowl), and stir the chopped chocolate frequently until melted. We remove the bowl from the heat when there are still a few small chunks of unmelted chocolate inside, to avoid overheating it. The residual heat should melt the remaining chocolate, and if not you can always return it to the heat. Make sure water does not get into your chocolate mixer at any point, as this could cause the chocolate to seize.
- Melting white chocolate in a microwave: Some people use the microwave to melt chocolate. While this alternate method does work, you have much less control over the temperature, so there’s a higher risk you scorch the chocolate. We prefer the double boiler method. If you are set on using the microwave, work in small time increments and stir in between each to ensure you don’t overheat the chocolate more than needed.
-
Where to buy freeze dried raspberries: You can usually find freeze dried raspberries at specialty grocery stores (like Whole Foods), baking supply stores, or online. They typically come in very We used whole freeze dried raspberries (from a package), and then crushed them with our fingers before sprinkling them on top of the cookies.


📖 Recipe
White Chocolate Raspberry Cookies
Ingredients
- 1 cup unsalted butter, softened
- 1 cup granulated sugar
- ¼ cup sour cream
- 1 large egg (at room temperature)
- 2 teaspoons vanilla extract
- 3 cups all-purpose flour (more for dusting)
- ½ teaspoon fine sea salt
- ¼ teaspoon baking powder
Decorations
- 5.3 oz white chocolate, chopped
- ½ cup freeze dried raspberries (or blueberries, 10 g)
- Dried edible flowers (optional)
Instructions
- Mix wet: In a stand mixer fitted with a paddle attachment (or in a large bowl using a hand mixer), beat the butter and sugar together on high speed until smooth and creamy, about 2 minutes. Add sour cream and beat until well incorporated. Scrape down the sides of the bowl. Add egg and vanilla. Beat until well incorporated.
- Mix dry: Whisk together flour, salt, and baking powder in a separate bowl.
- Combine: Add dry ingredients to wet ingredients. Mix on low speed, just until combined, scraping down the sides and bottom of the bowl to incorporate any floury bits. (Dough will be soft and fairly sticky.)
- Chill dough: Divide the dough into two equal discs. Wrap each tightly in plastic wrap or put in freezer bags. Refrigerate for a minimum of 1 hour (up to 2 days) to allow the dough to firm up.
- Preheat: Preheat the oven to 350°F (177°C). Line two baking sheets with parchment paper.
- Roll dough: On a floured surface, roll one disc of dough until it's ⅛- to ¼-inch (3-6 mm) thick. Use a cookie cutter to cut out 2½-inch (6 cm) circles (or a similar sized shape). Arrange cookies on prepared baking sheets, leaving 1-inch (2.5 cm) of space between cookies.
- Bake: Bake one sheet at a time, until the cookies look medium-firm and the edges have set (you're not looking for them to brown), 9 to 11 minutes. Let fully cool on the sheet before removing. Meanwhile, repeat process with remaining dough.
- Decorate: Gently melt white chocolate over a double boiler. Either transfer the white chocolate to a parchment piping cone (see how to make one) for piping - or dip a fork into the bowl of melted chocolate, and wave it back and forth over the cookie to drizzle the chocolate. (We used the parchment cone method for the photographs). Use your fingertips to crush the dried raspberries and sprinkle over chocolate, along with dried flowers (if using).
Notes
- Storage tips: After decorating, let the white chocolate cool and firm up before transferring cookies to an airtight container or bag.





LEAVE A COMMENT