
There’s something so hard to resist about iced coffee. The clinking of ice cubes, the condensation that forms as the warm air touches the cool glass, or the slow drip of that rogue water droplet sliding down the side of the bottle. All this while you’re likely mopping sweat from your brow, in the stifling heat. Urgh. Go ahead, take my money. And that’s literally what we’ve been saying for years, as we’ve forked over top-dollar for cold brew at coffee shops.
We’re pretty good at eating as many meals at home as possible, to save money, eat better, etc.; but when it comes to coffee (especially the cold brew kind), we’ve been a bit “loose”. After realizing how much our coffee shop trips were adding up, we finally got to work on tinkering with an at-home cold brew, until we got it just right. And news flash: it doesn’t require investing in any specialty equipment. Sure you can go buy a cold brew coffee setup, but the last thing we needed was another kitchen gadget - especially one that's not absolutely necessary. We're taking the old fashioned route. All you’ll need is a mason jar and some type of straining device. We usually use a nut milk bag, but a fine-mesh sieve or paper coffee filters work too.
This recipe is so simple you barely need a recipe, but to start, we’re sharing the instructions for our go-to cold brew. The coffee to water ratio actually fits in a single mason jar, which is surprisingly rare given how most recipes yield batches so big you’d need to hook yourself up to it with an IV to get through it all. Don’t get us wrong, we love cold brew, but with it being as strong as it is, you really shouldn’t need a lot in one go.
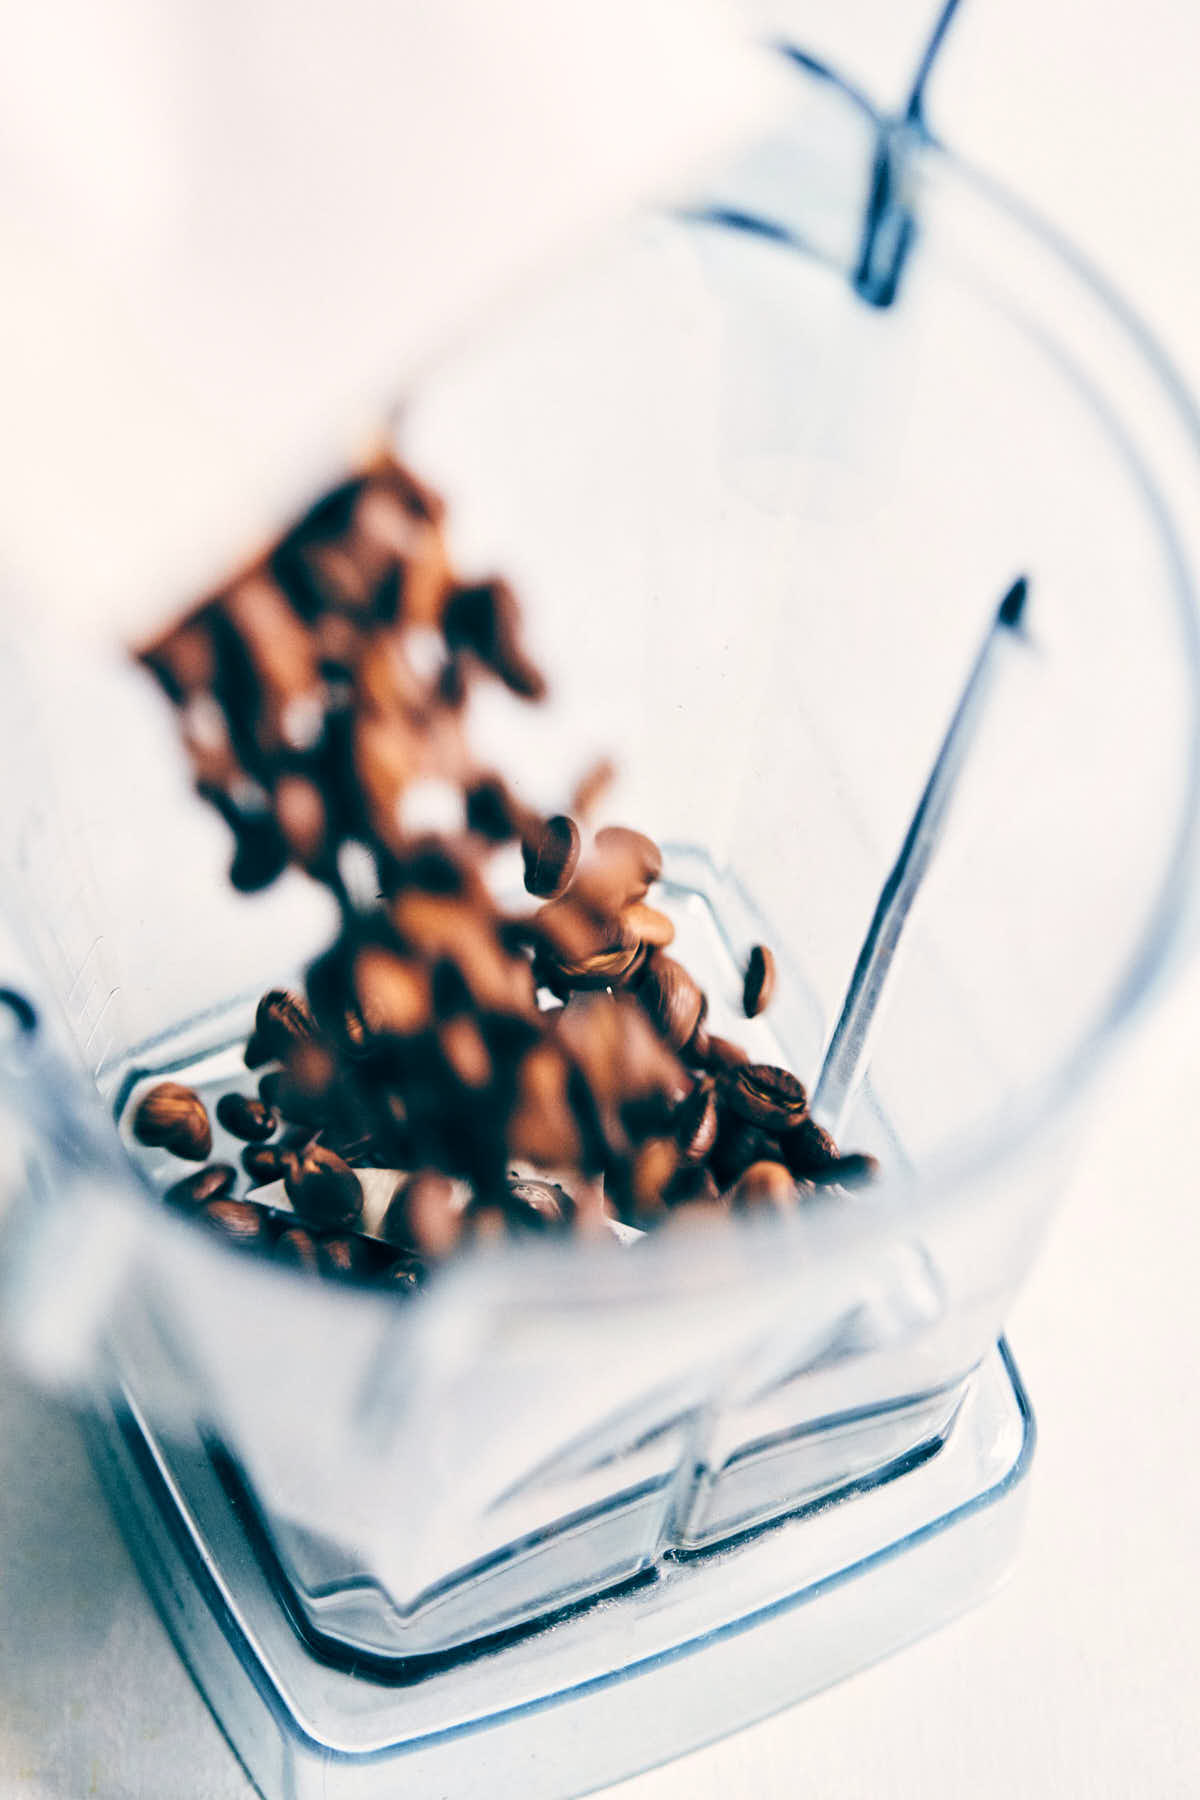
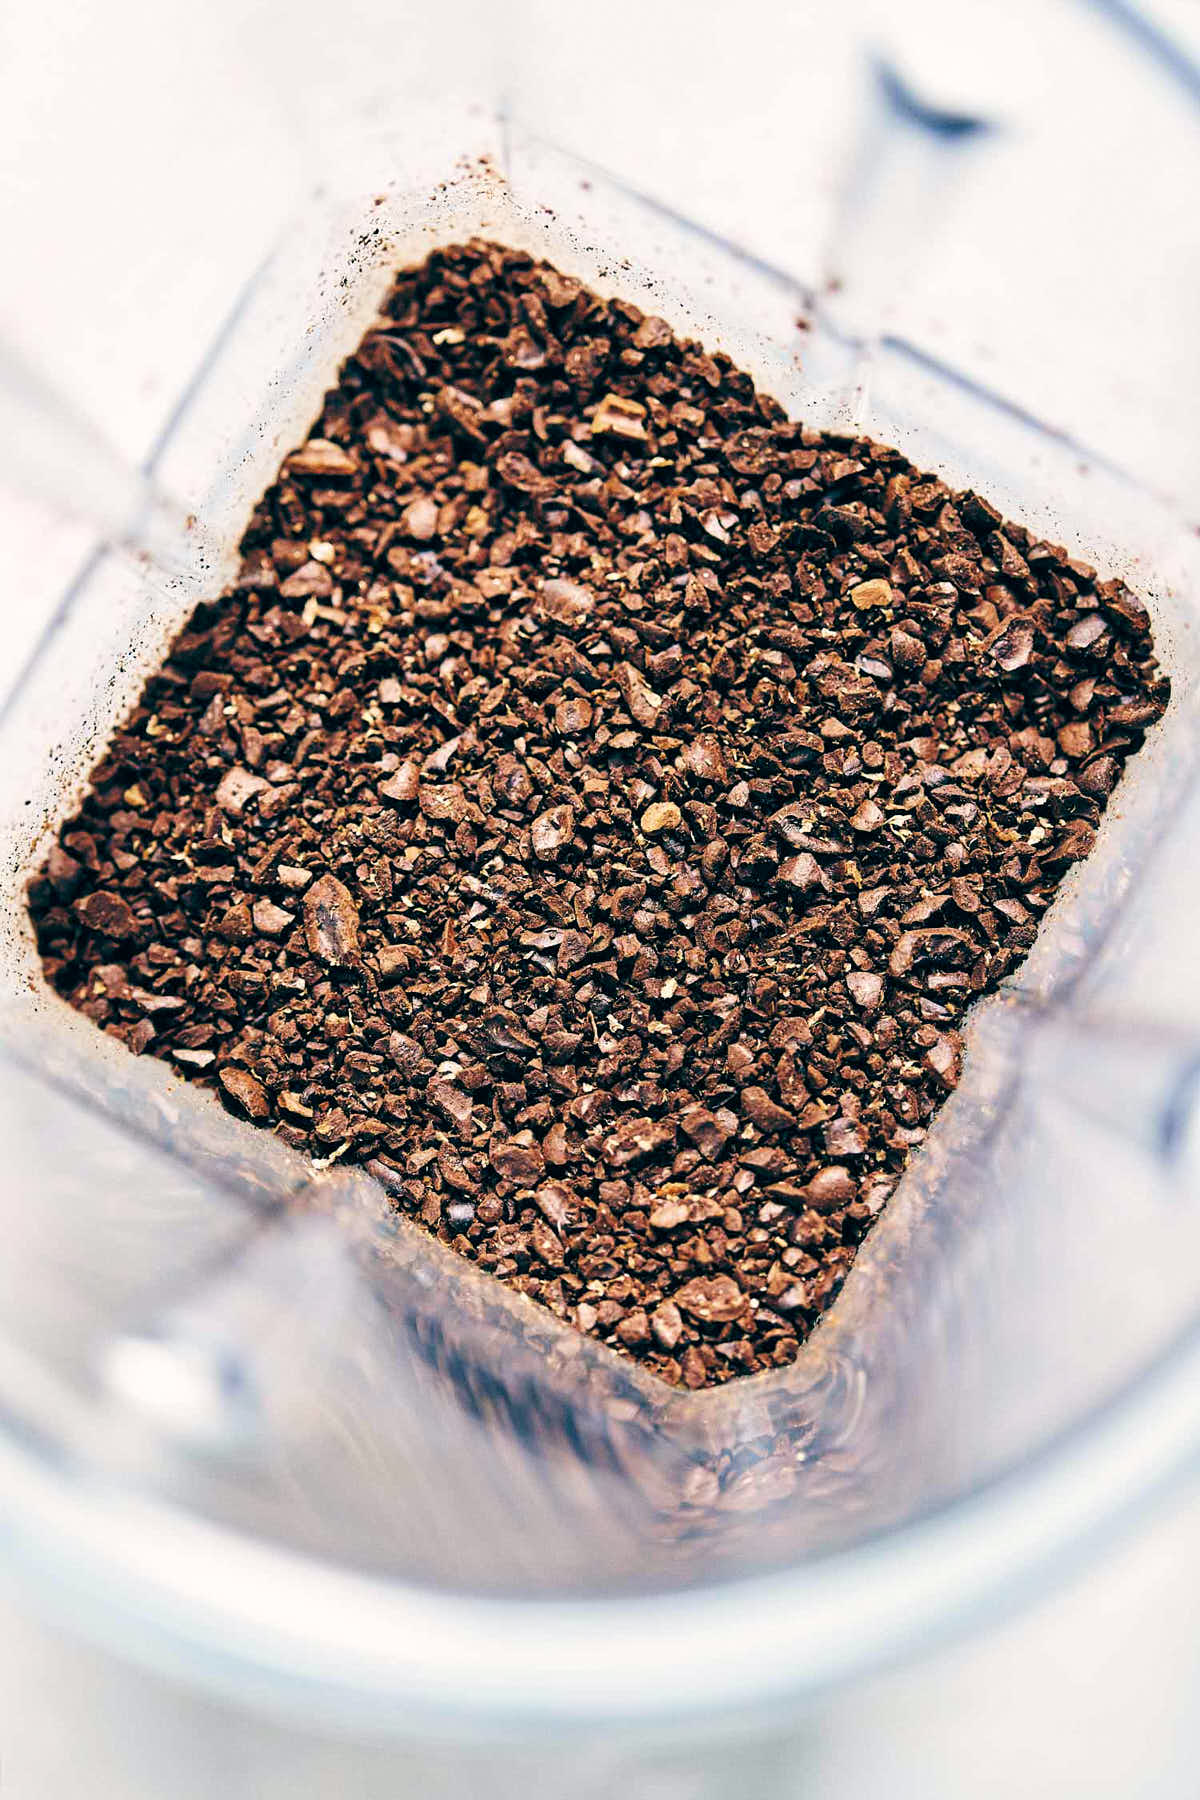
The first step is to coarsely grind your coffee beans. If you don’t have a coffee grinder, you can use a blender like we do. As you grind, use the pulsing function so that you can keep checking on your beans, until they’re just coarse enough. Avoid over-grinding your beans, because if they’re super fine, it could could make your cold brew cloudy. Then, dump the coarsely ground beans into a clean mason jar. Add water, stir well, then cover and pop your container into the fridge to brew. We like it best when the coffee’s brewed for approximately 16 hours, which means we’re usually making a batch on the weekend as part of our meal prep for the week. But the steep time comes down to personal preference, so after your first go-around, you can try brewing the coffee for more/less time to see what you prefer (12-18 hours is a pretty safe window).
As you’ll probably notice, cold brew coffee requires a higher ratio of beans to water, compared to your standard hot drip coffee. This helps to account for dilution from ice, milk, etc. Once you strain your cold coffee, give it a taste. If it’s too strong for your liking - or you don’t add much milk or ice to your glass - then the mason jar will have some headroom to add more water, to taste. If the coffee isn’t strong enough for you (less likely, but everything’s possible), you can add back the beans and steep for a bit longer - or next time add more. We find that a mason jar worth of cold brew lasts through most of the work week. If you really go through coffee, you can double up, but avoid having the coffee sitting in the fridge for longer than a week as the flavor will eventually fade.



📖 Recipe
Mason Jar Cold Brew Coffee
Ingredients
- ⅔ cup whole coffee beans (2.3 oz)
- 3½ cups filtered water (cold or room temperature)
Instructions
- Grind and steep: Use a coffee/spice grinder or blender to grind beans until coarse (see note 1). Transfer ground beans to a mason jar. Add water. Stir thoroughly to wet coffee beans. Cover and put the jar in the fridge for about 16 hours.
- Strain: Pour mixture through sieve lined with a paper coffee filter or nut milk bag to strain. Refrigerate, in the sealed jar, until ready to use. Add ice and milk of choice, if desired.
Notes
- Grinding beans: Alternatively, you could use coffee grinder at the grocery store (or wherever you buy beans). Select the French press setting.
- The cold brew coffee should taste a bit more on the strong side, to account for dilution from added ice and/or added milk. If too strong for your taste, add slightly more cold or room temperature water. If you want a stronger coffee, you can add the beans back and brew for longer, then repeat instructions to strain when ready.






LEAVE A COMMENT